
I've been serving in the United States Navy for 17 years, and after moving my family around the world 4 times, I look forward to having a cozy place to enjoy with friends. The need for a well stocked "man cave" is what inspired the creation of my 48" tall, 28" deep and 62" deep centerpiece.


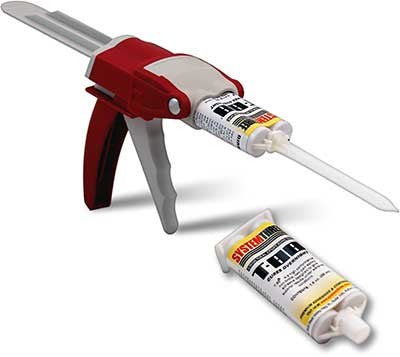
 Wouldn’t it be nice if there were a way to eliminate the chance of measuring and mixing errors, maximize the resin strength by eliminating air, always use freshly mixed material, enjoy top of the line products, save time, eliminate waste and have more fun? There is such a way. It’s called using dual cartridges. To use one you simply drop it into a caulking gun, prime it and screw on the tip to dispense thoroughly mixed and precisely measured material free of air. You put the mixed material right where it is needed with little waste. Using dual cartridges is fun and is the quick, confident way to kick back and watch things cure!

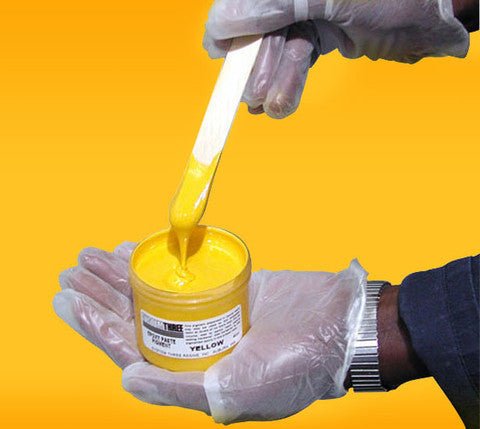

Our Epoxy Paste Pigments are pure, dry, colored, pigments dispersed in in an epoxy resin blend. They are pourable, easily measured, and contain no solvents, and may be blended with one another to produce additional colors. Since they are dispersed in an epoxy resin blend, they react into the system and do not change its cured properties. The proper way to use these pigments is to add them to the resin (Part A) side and then add the hardener(Part B) at the correct ratio for the epoxy system being used.

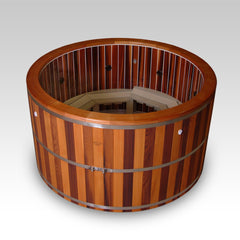
This is the Super "R" hot tub from Maine Cedar Hot Tubs, Inc. The outer shell of these tubs is constructed from an oil finished Western Red Cedar and accented with brushed stainless steel bands to mirror the appearance of the traditional cedar or redwood tub. Maine Cedar Hot Tubs, Inc. use System Three Silvertip Epoxy to cold-mould and overlay the cap rail, base rail, and inner shell of the tub.
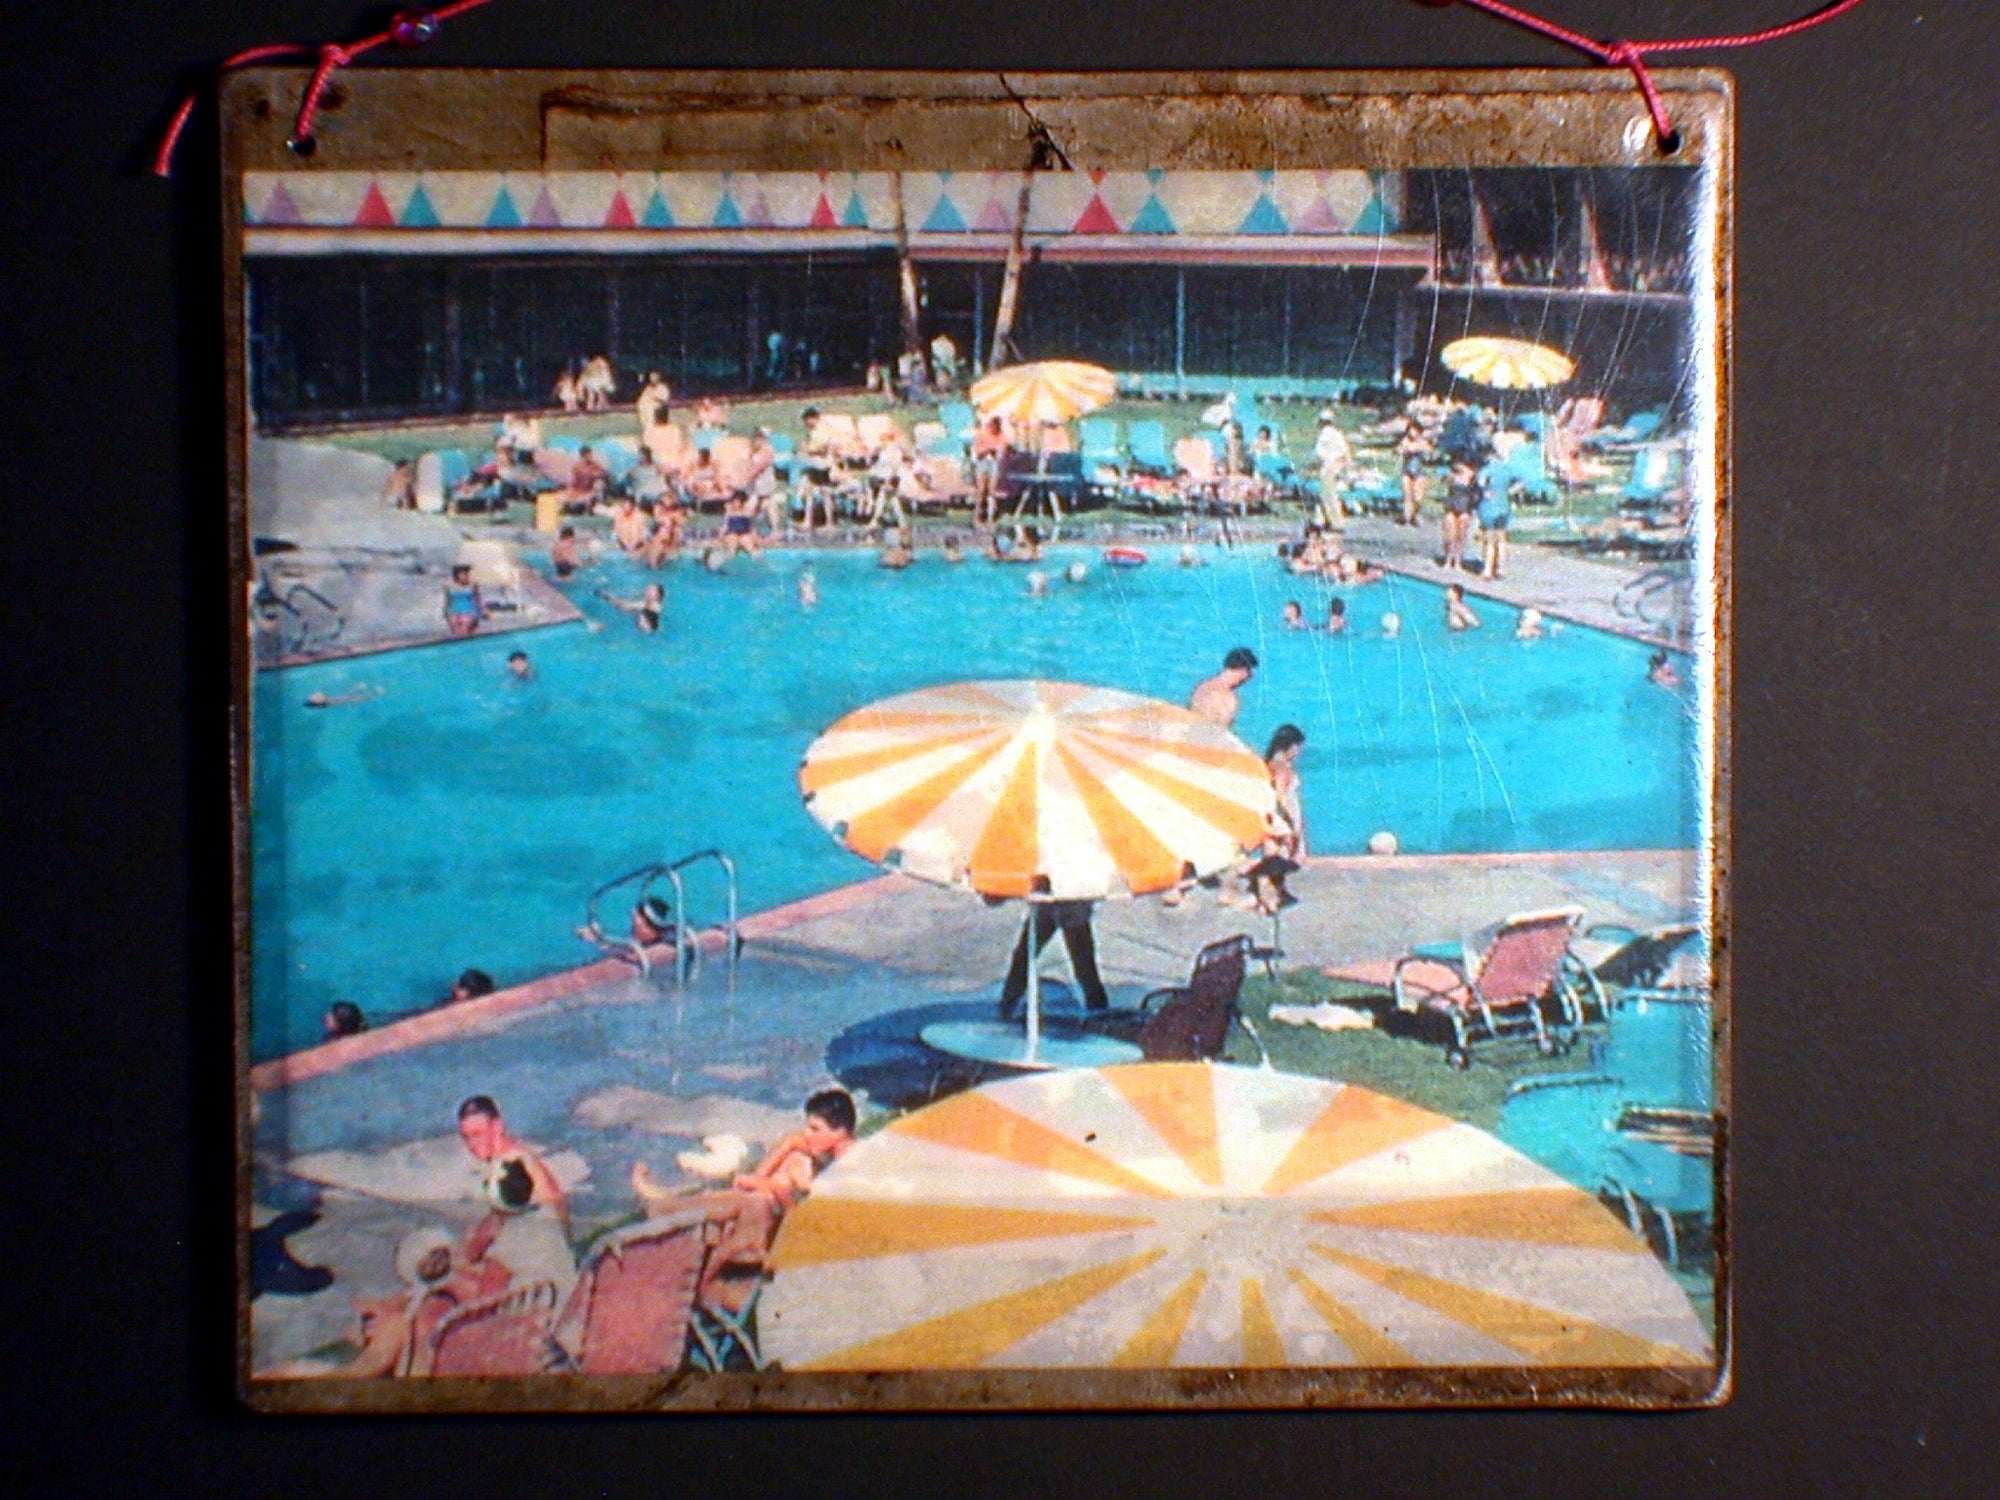

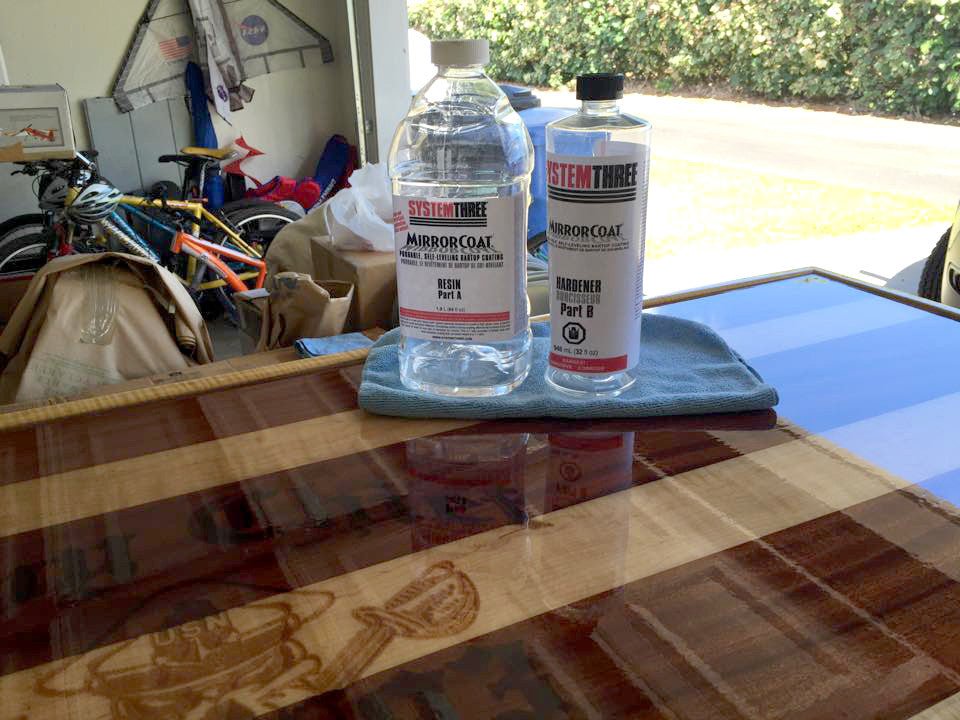
I like to make durable surfaces using resin and small pieces of salvaged metal. I learned about MirrorCoat(tm) from Darin Montgomery, furniture designer-builder and owner of Urbancase. Nick Gucker at System Three Resins was very helpful, by phone and email, when I had technical questions about its use.