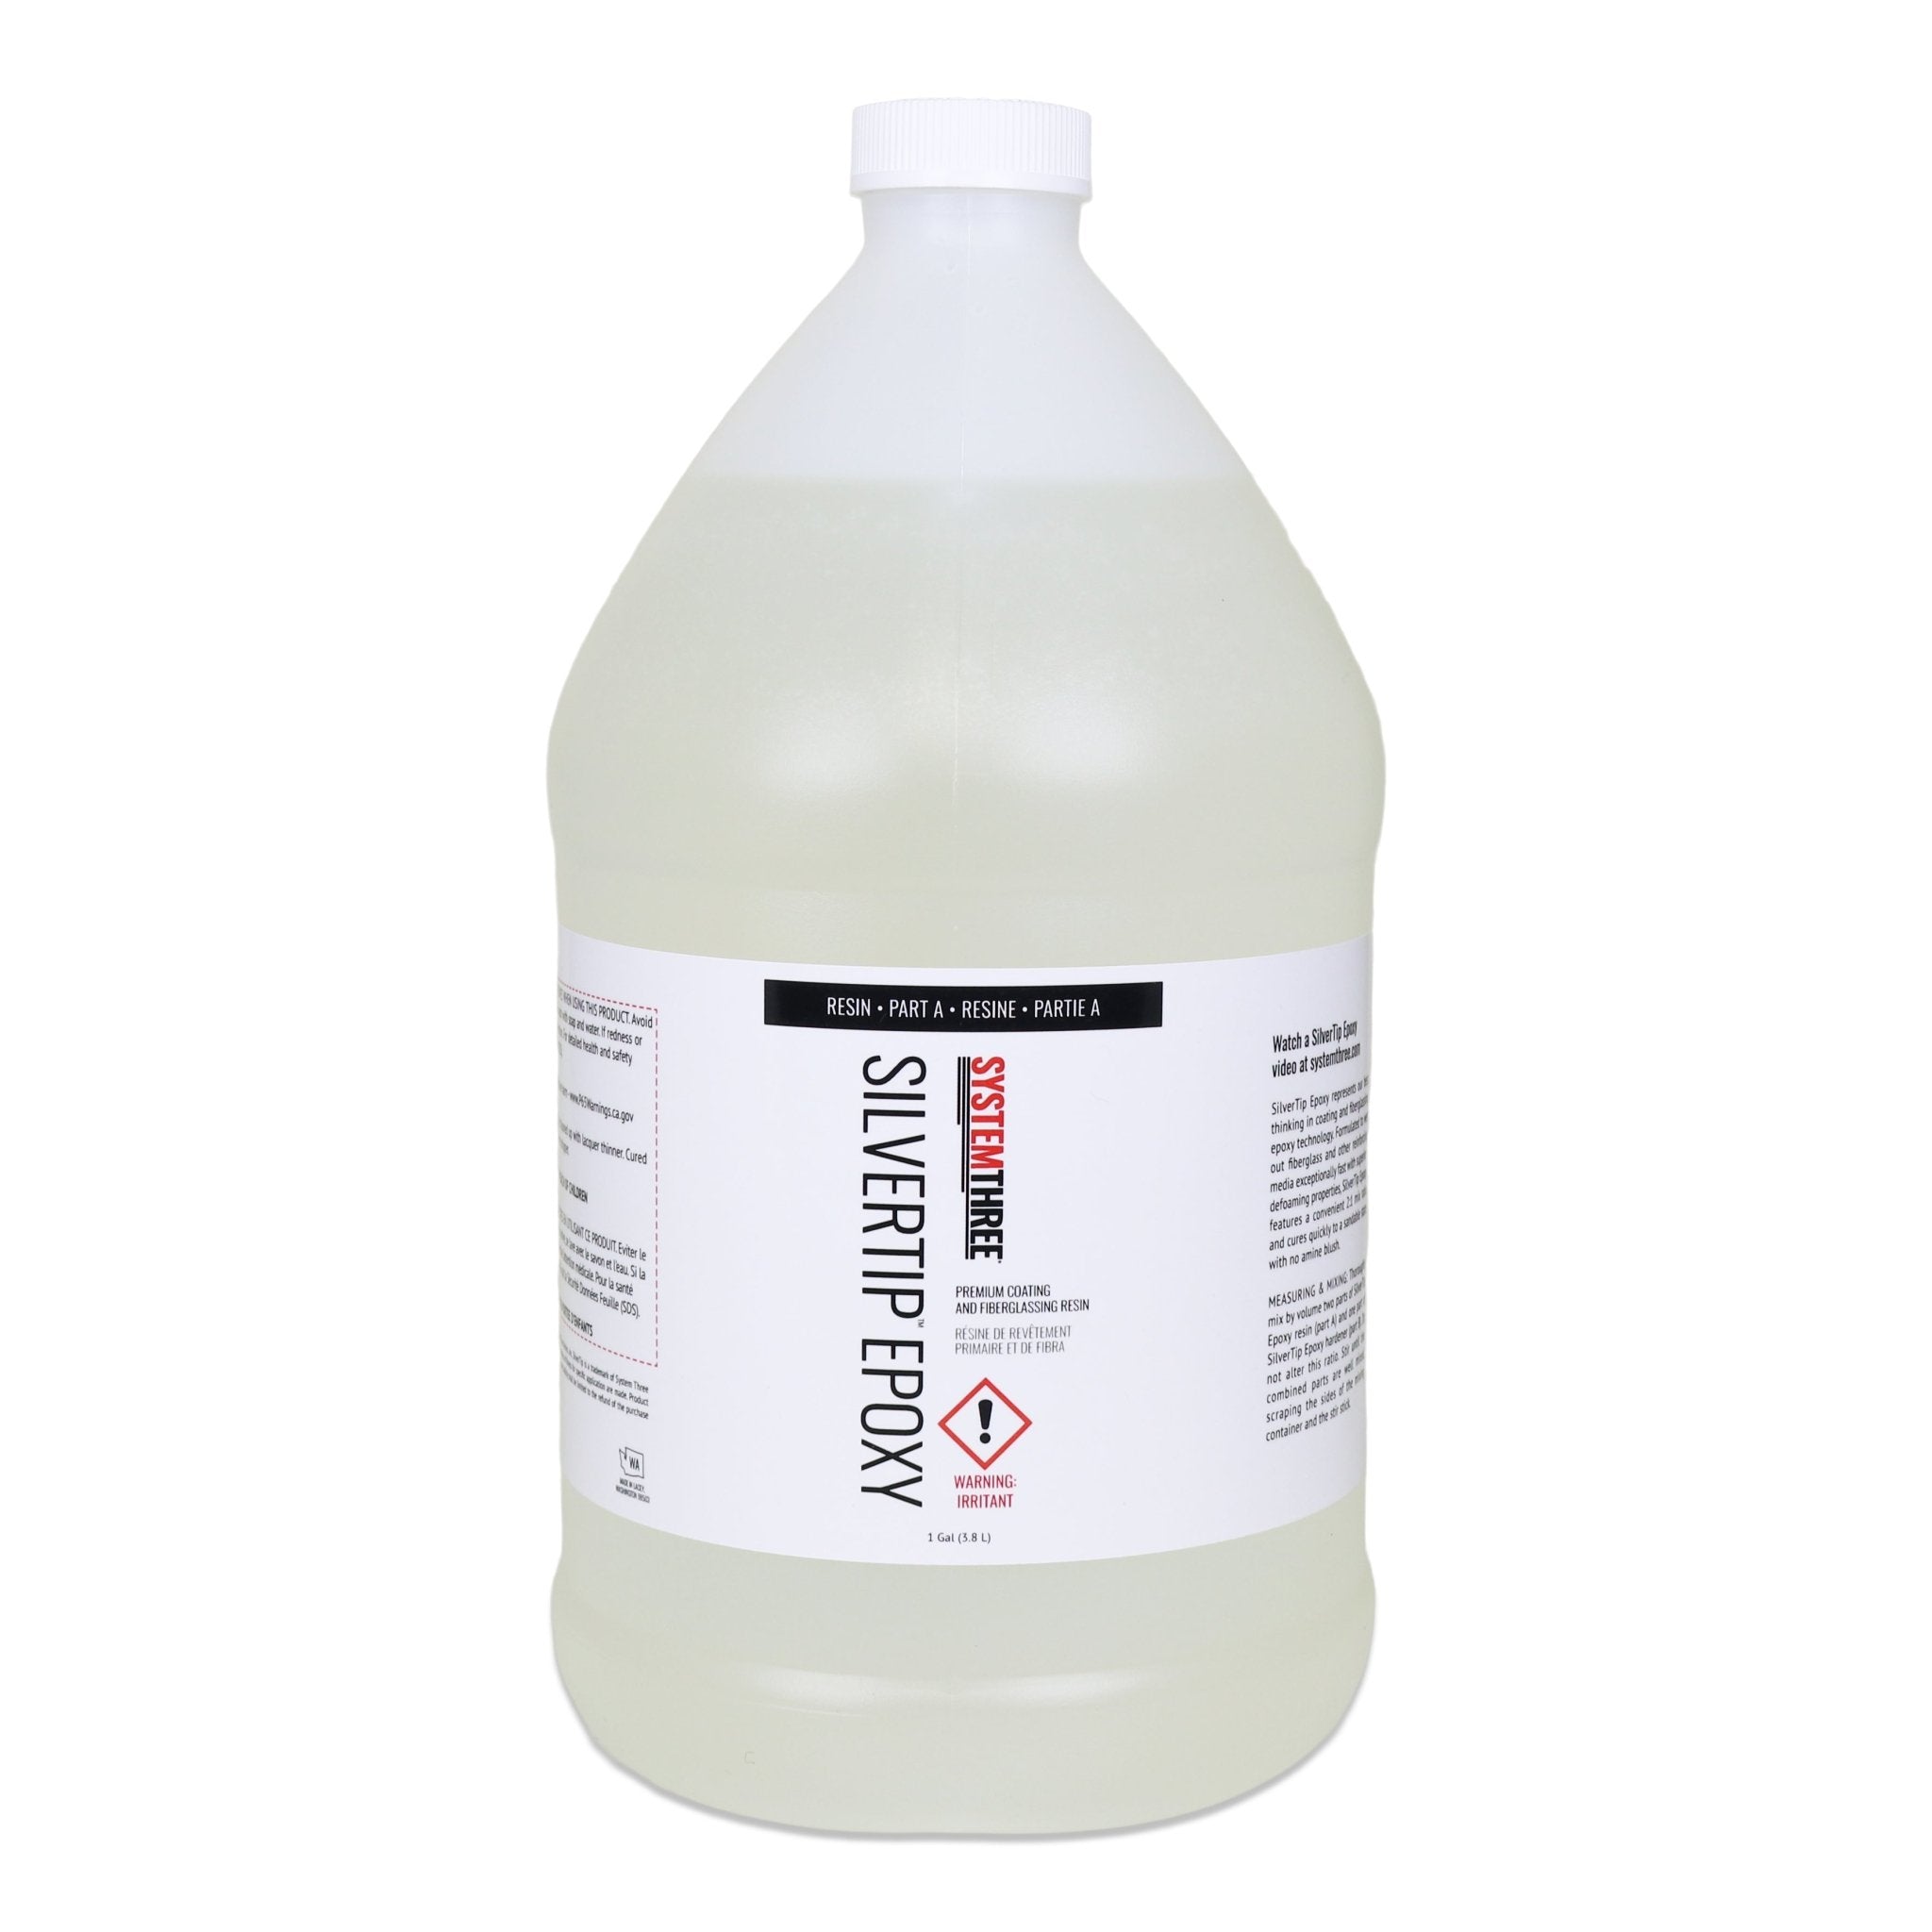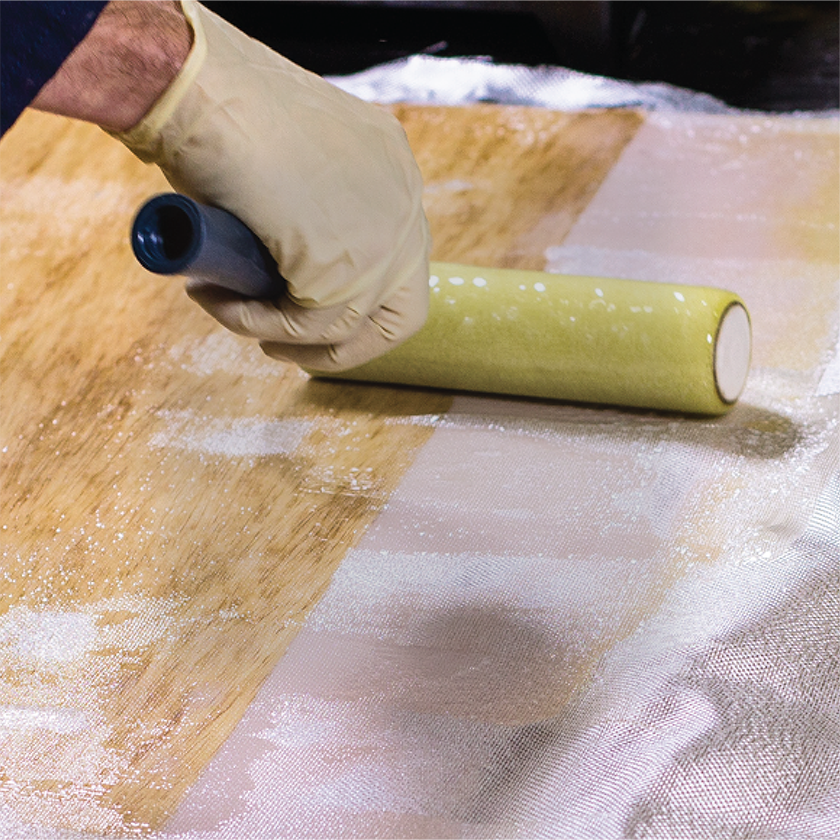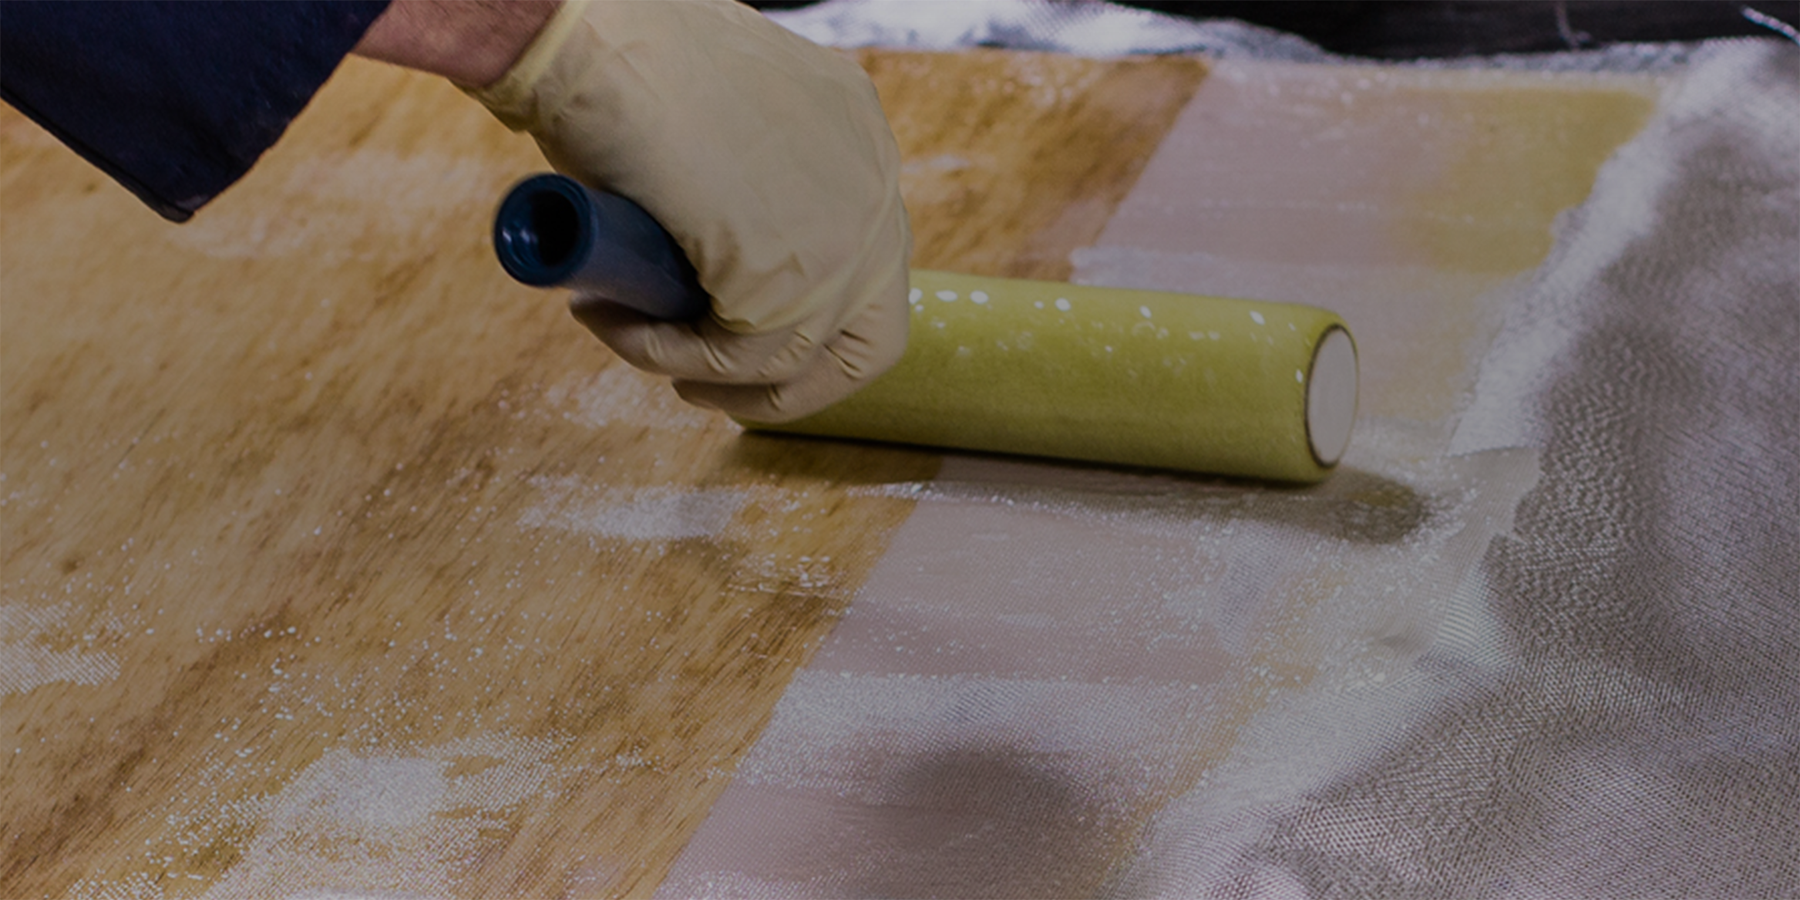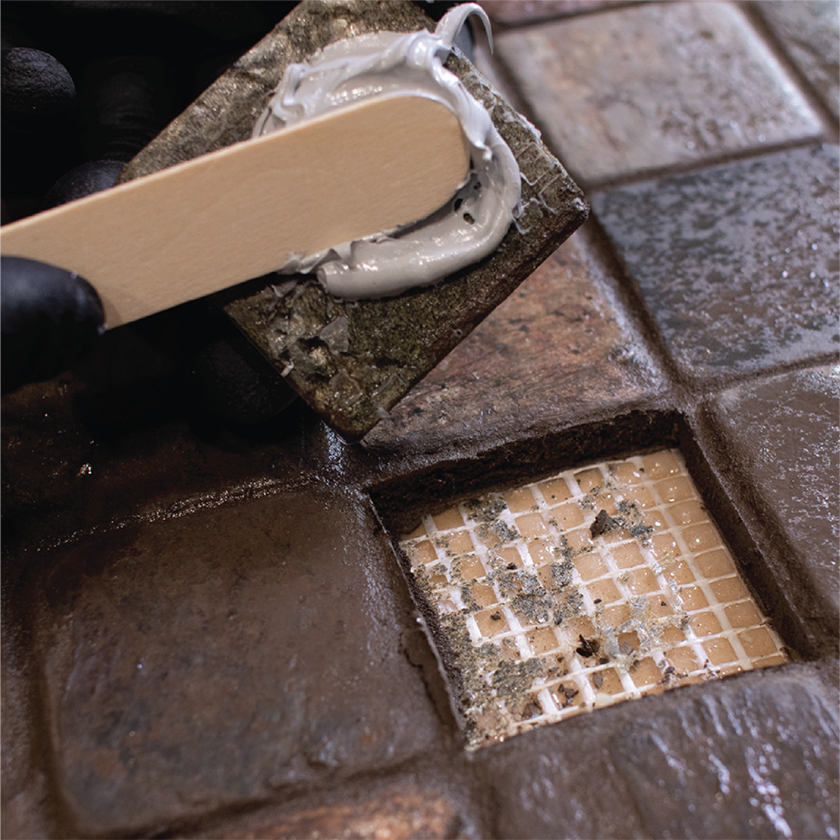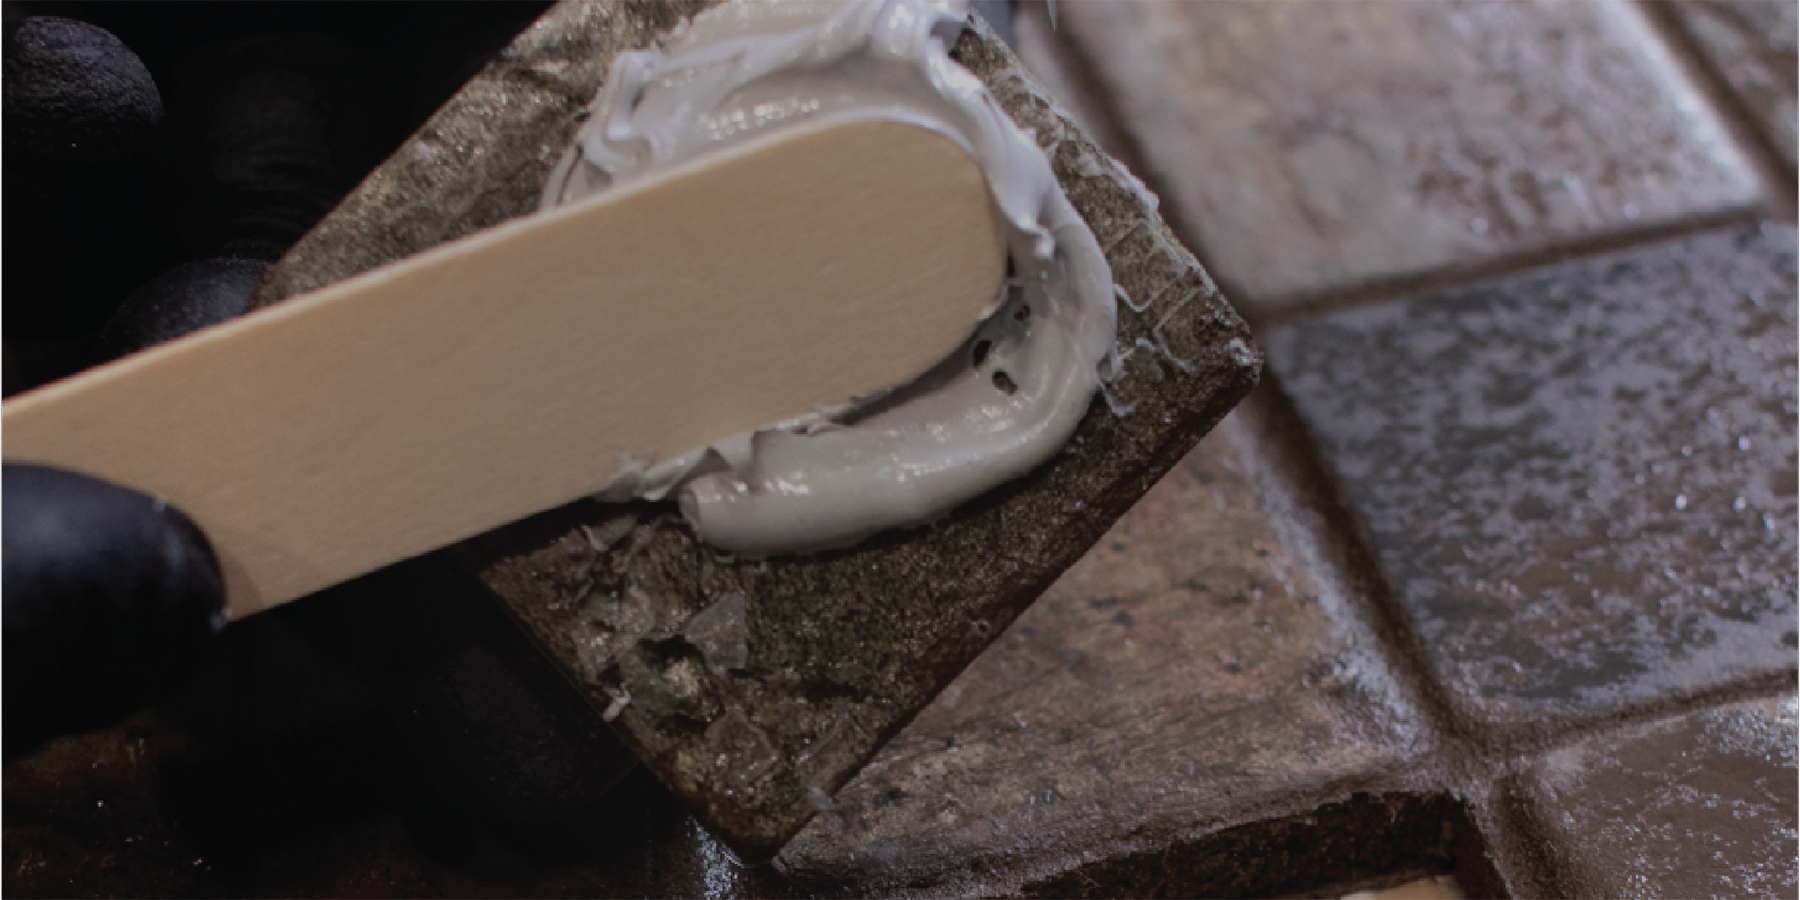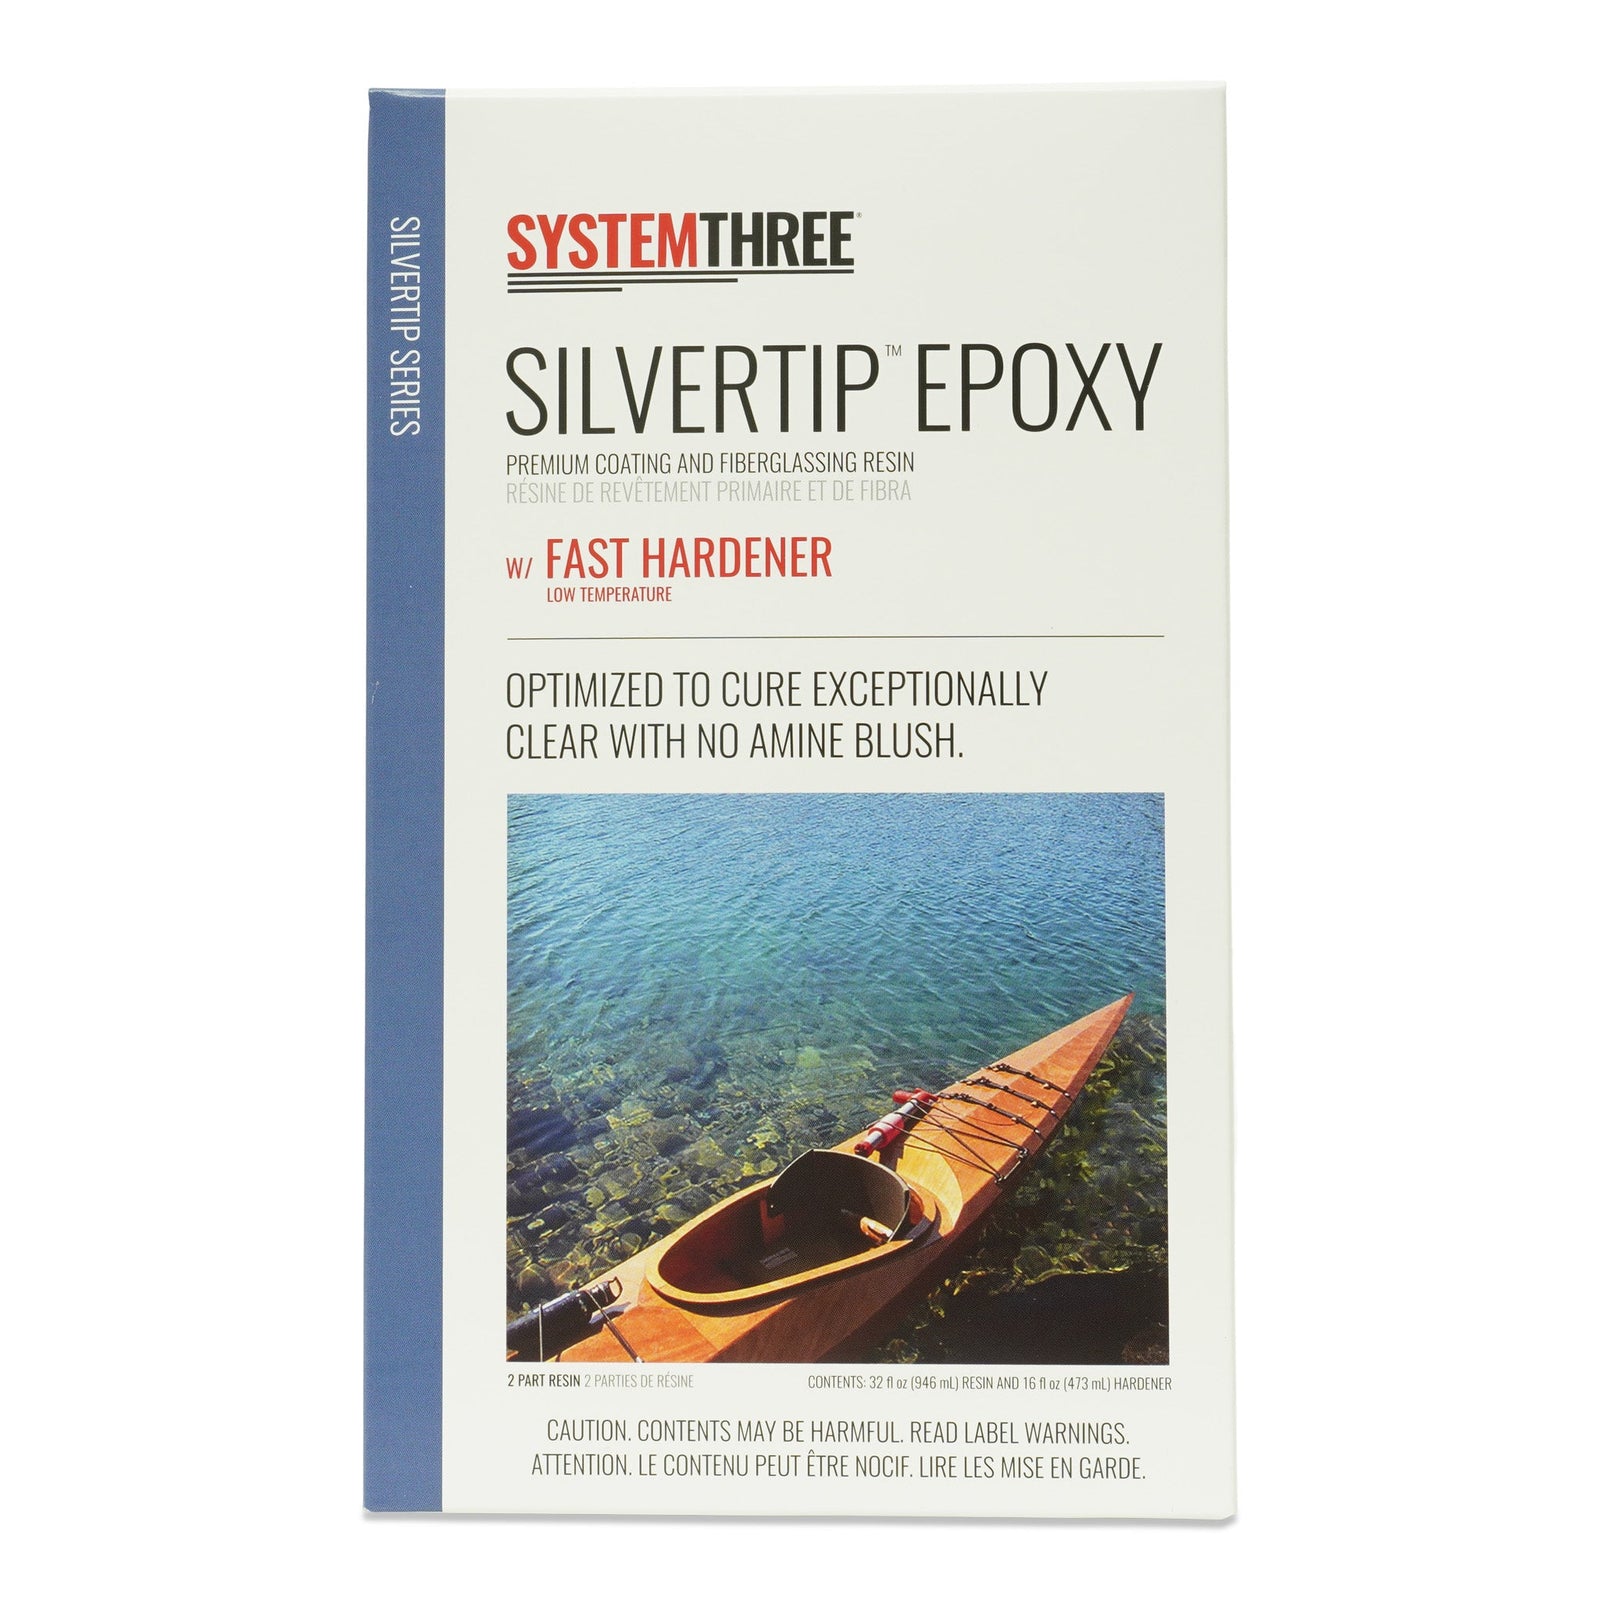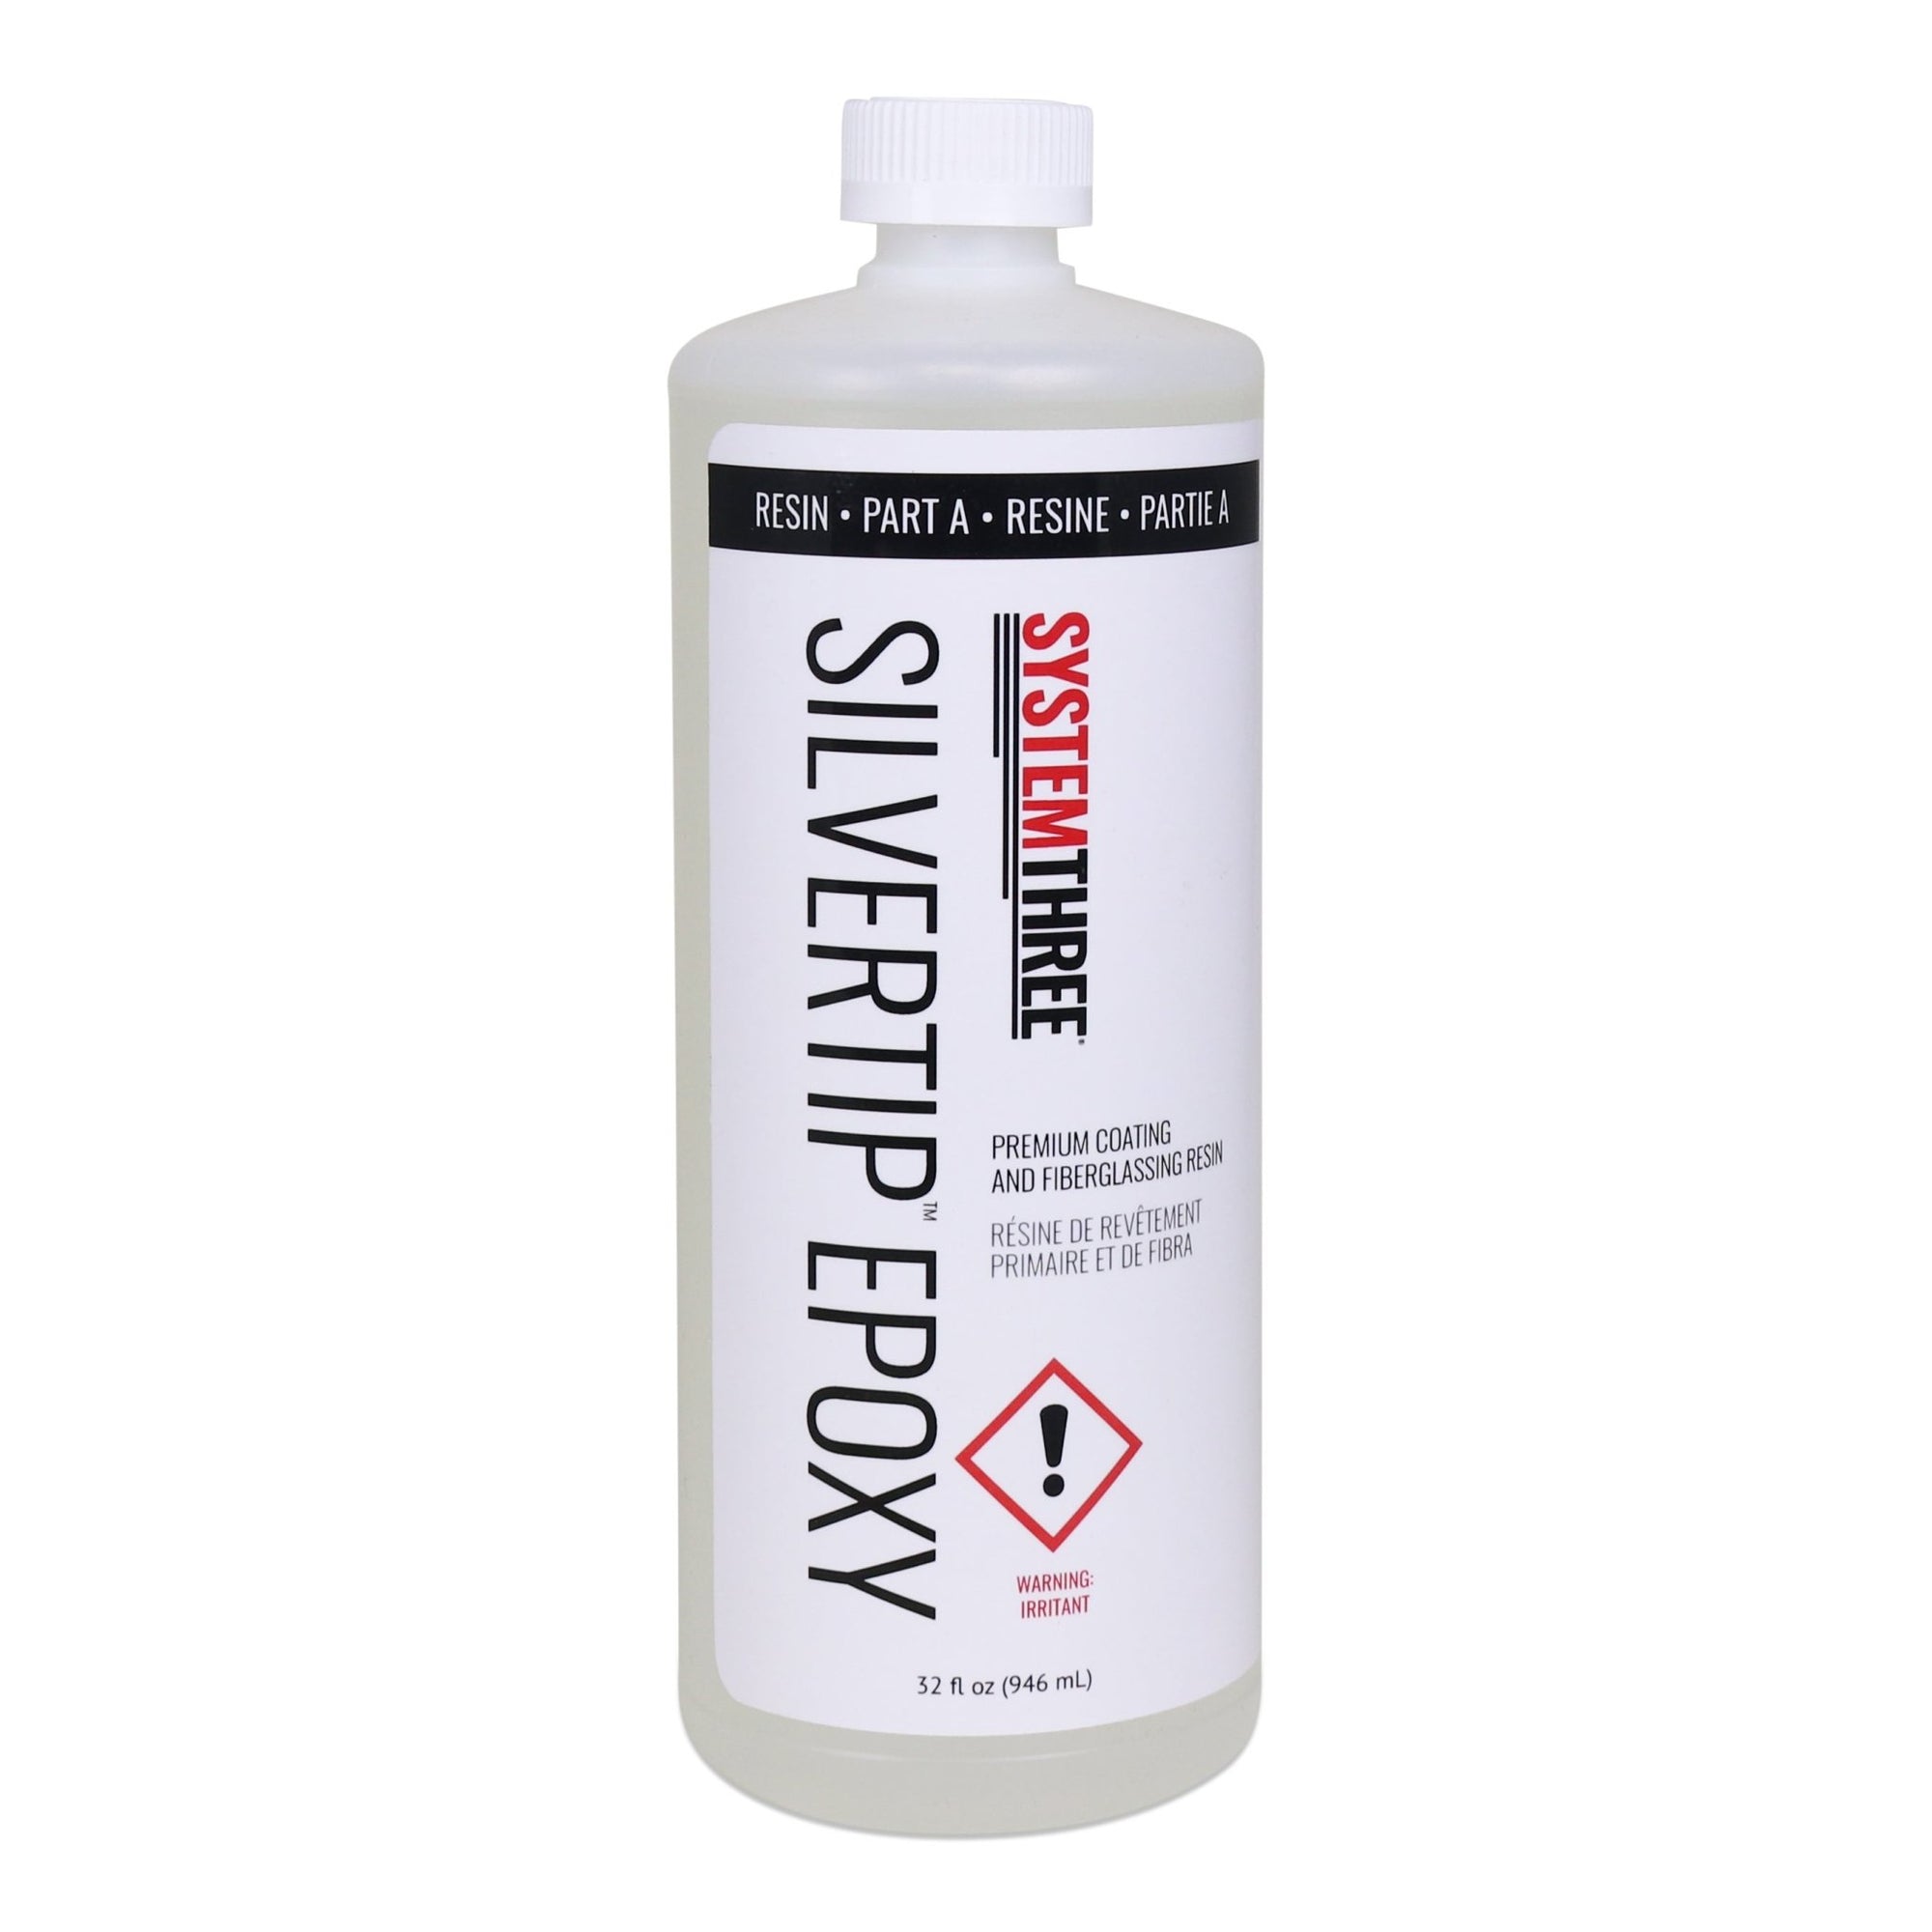


SilverTip Epoxy is a medium-low viscosity, liquid epoxy resin system that has been optimized for coating and reinforcing fabric saturation in wood-composite boat building. It will outperform any other product in these applications. SilverTip Epoxy is designed for use with fiberglass, Kevlar®, Dynel® and graphite as well as on bare wood. It has superior wet-out characteristics with little tendency to foam or trap air.
Both the resin and hardener are nearly colorless and are used in an easy 2:1 volumetric ratio. SilverTip Epoxy cures to a brilliant blush-free film with either the fast or slow hardener eliminating secondary bonding concerns as experienced with other epoxies.


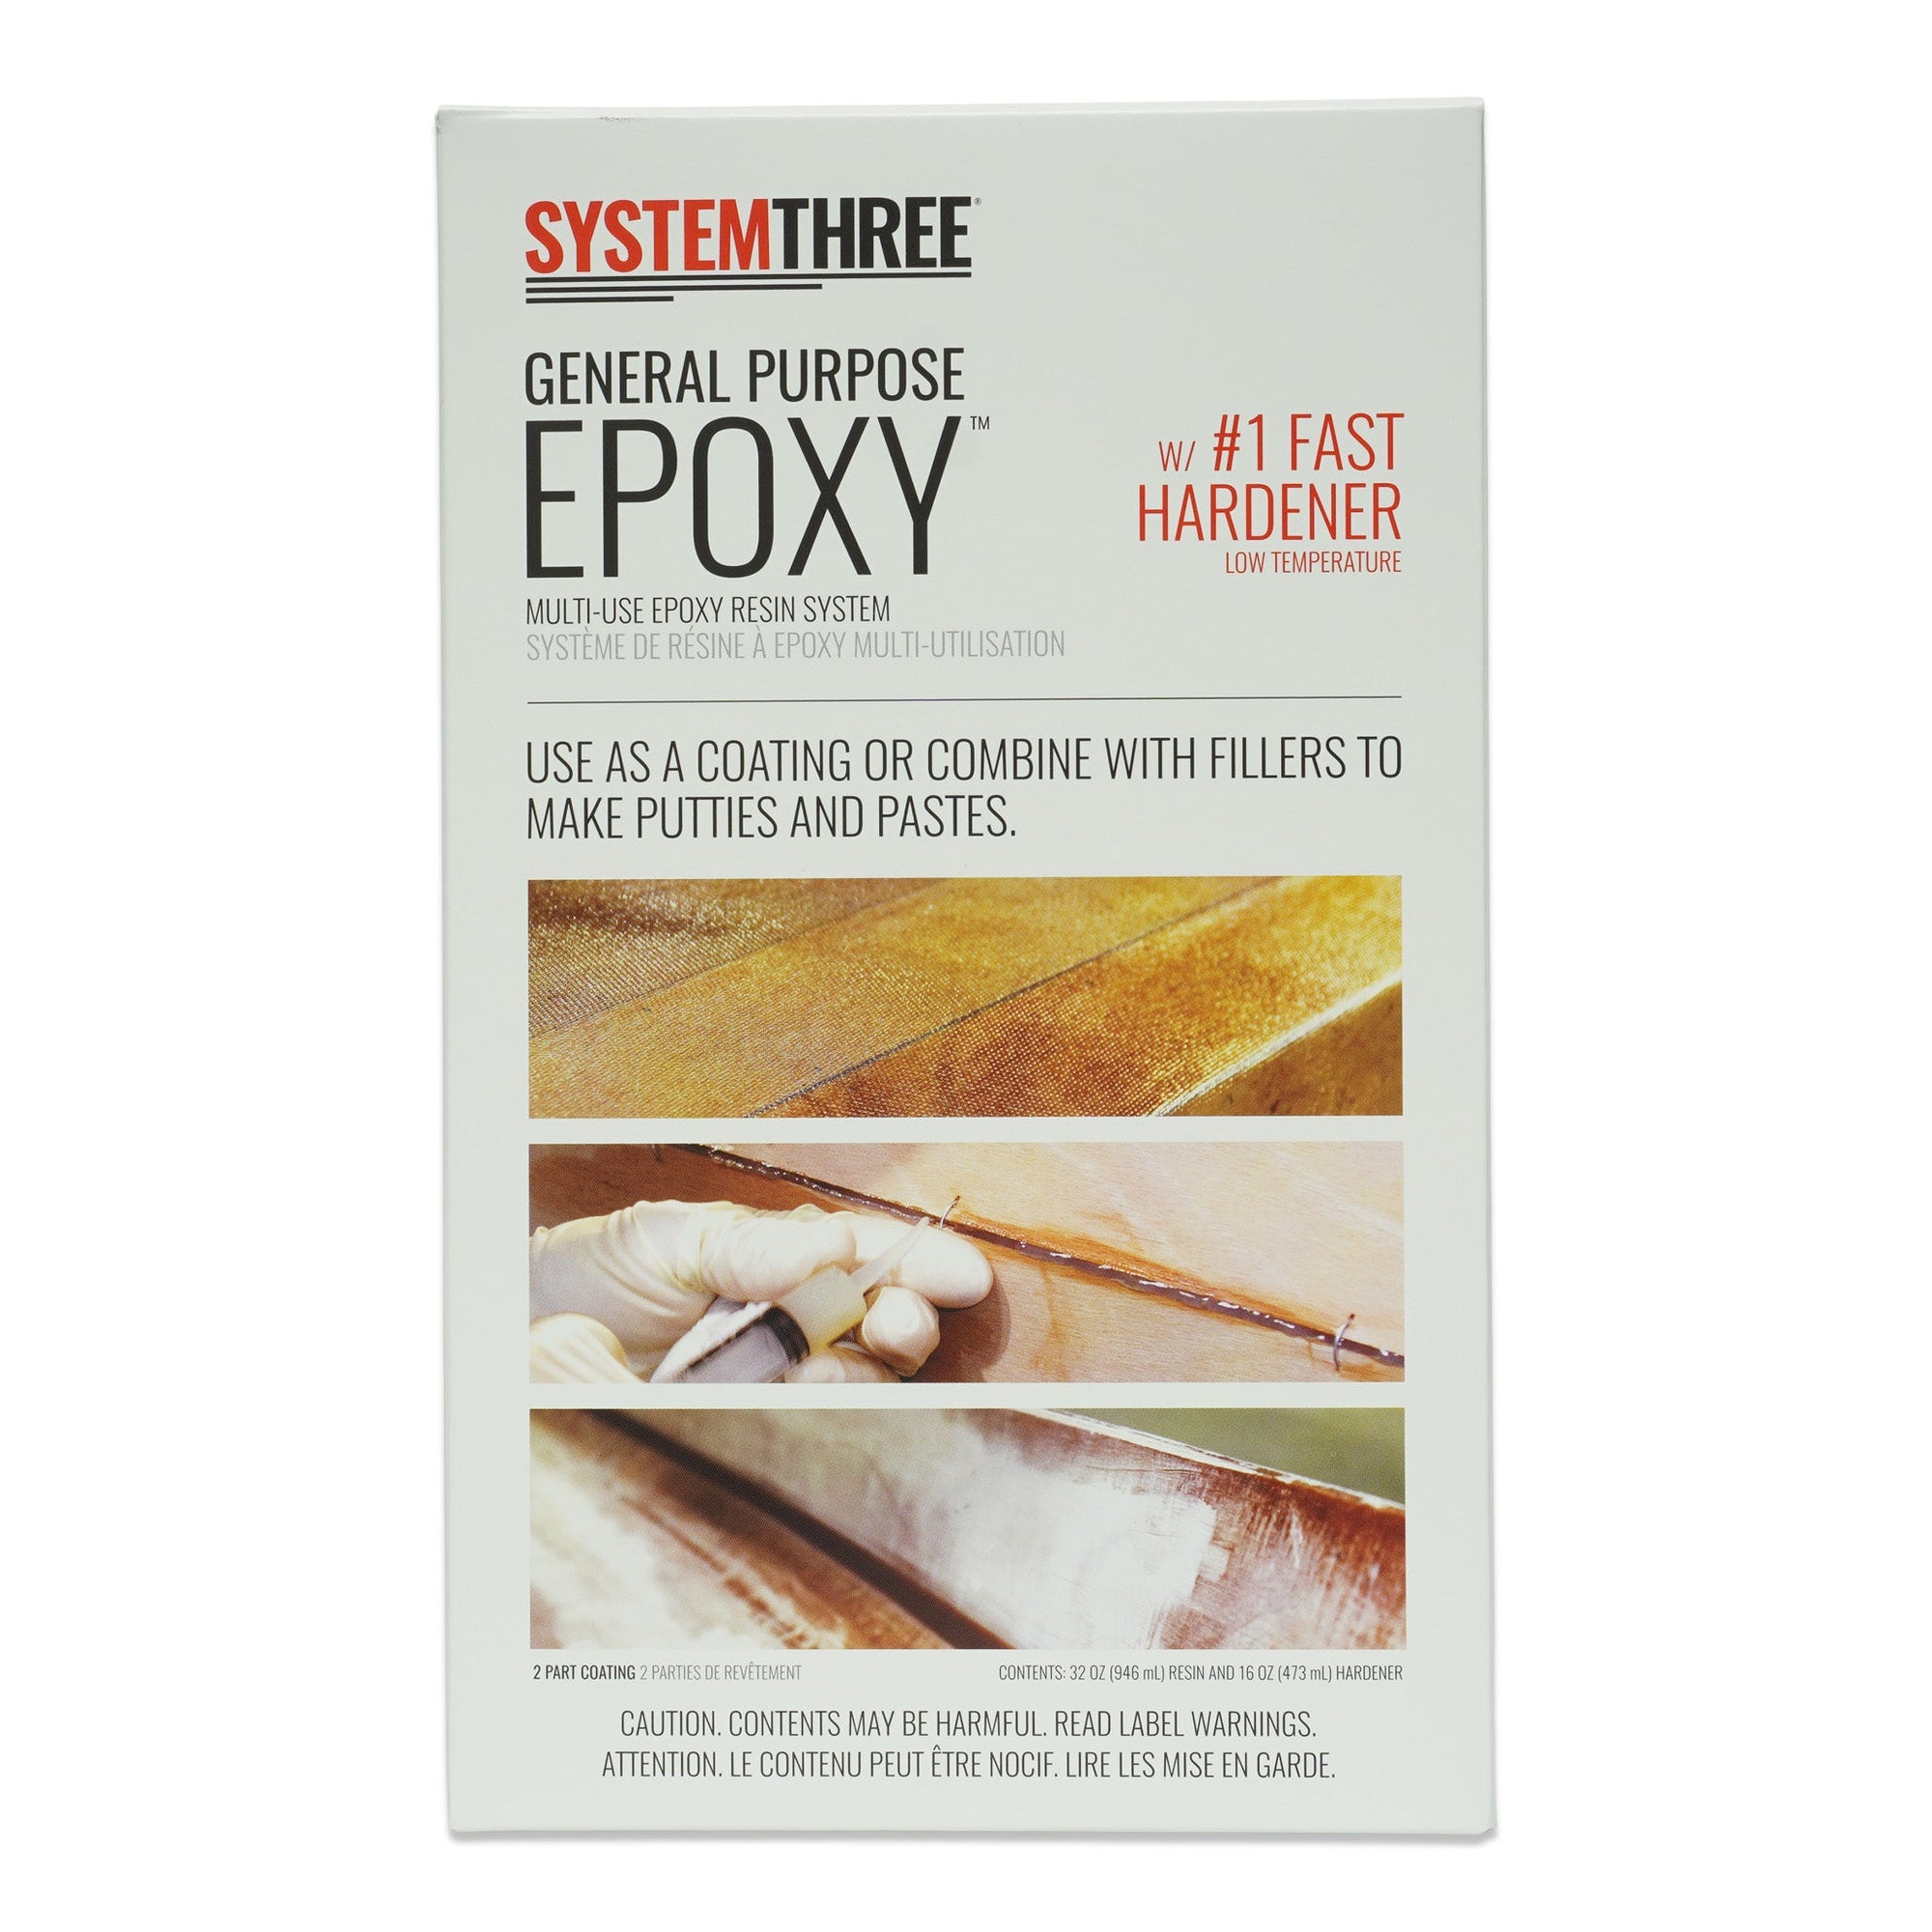
General Purpose Epoxy was our first product when System Three launched in 1979 and remains one of our bestselling, most loved products. At the time, it redefined the category by offering consumers an epoxy system that could be used in a wide variety of environments.
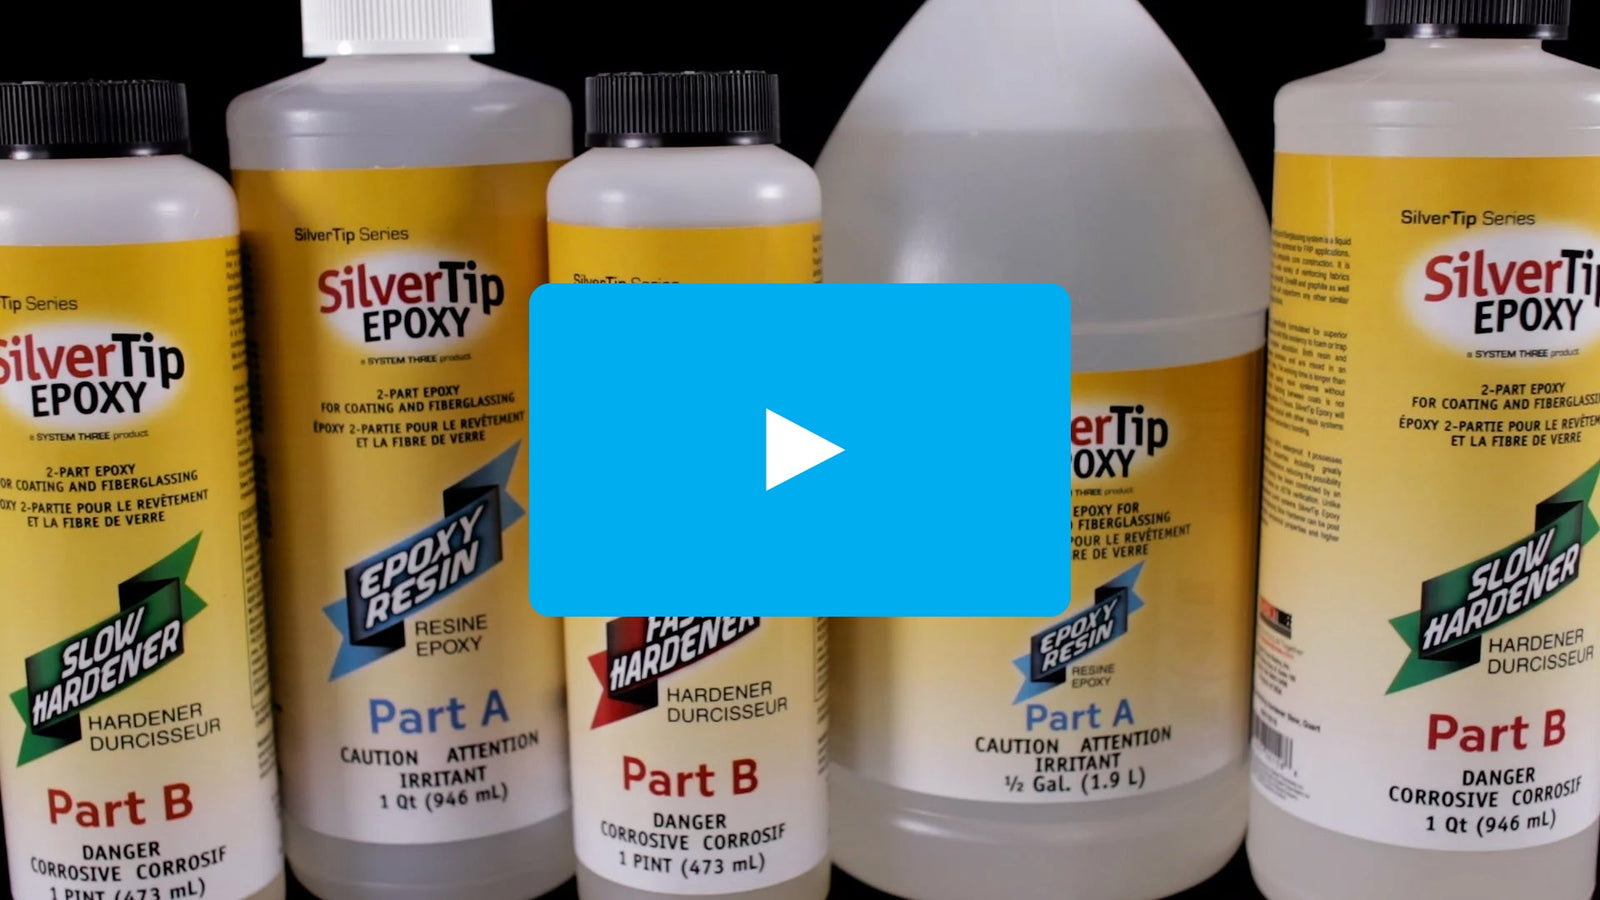
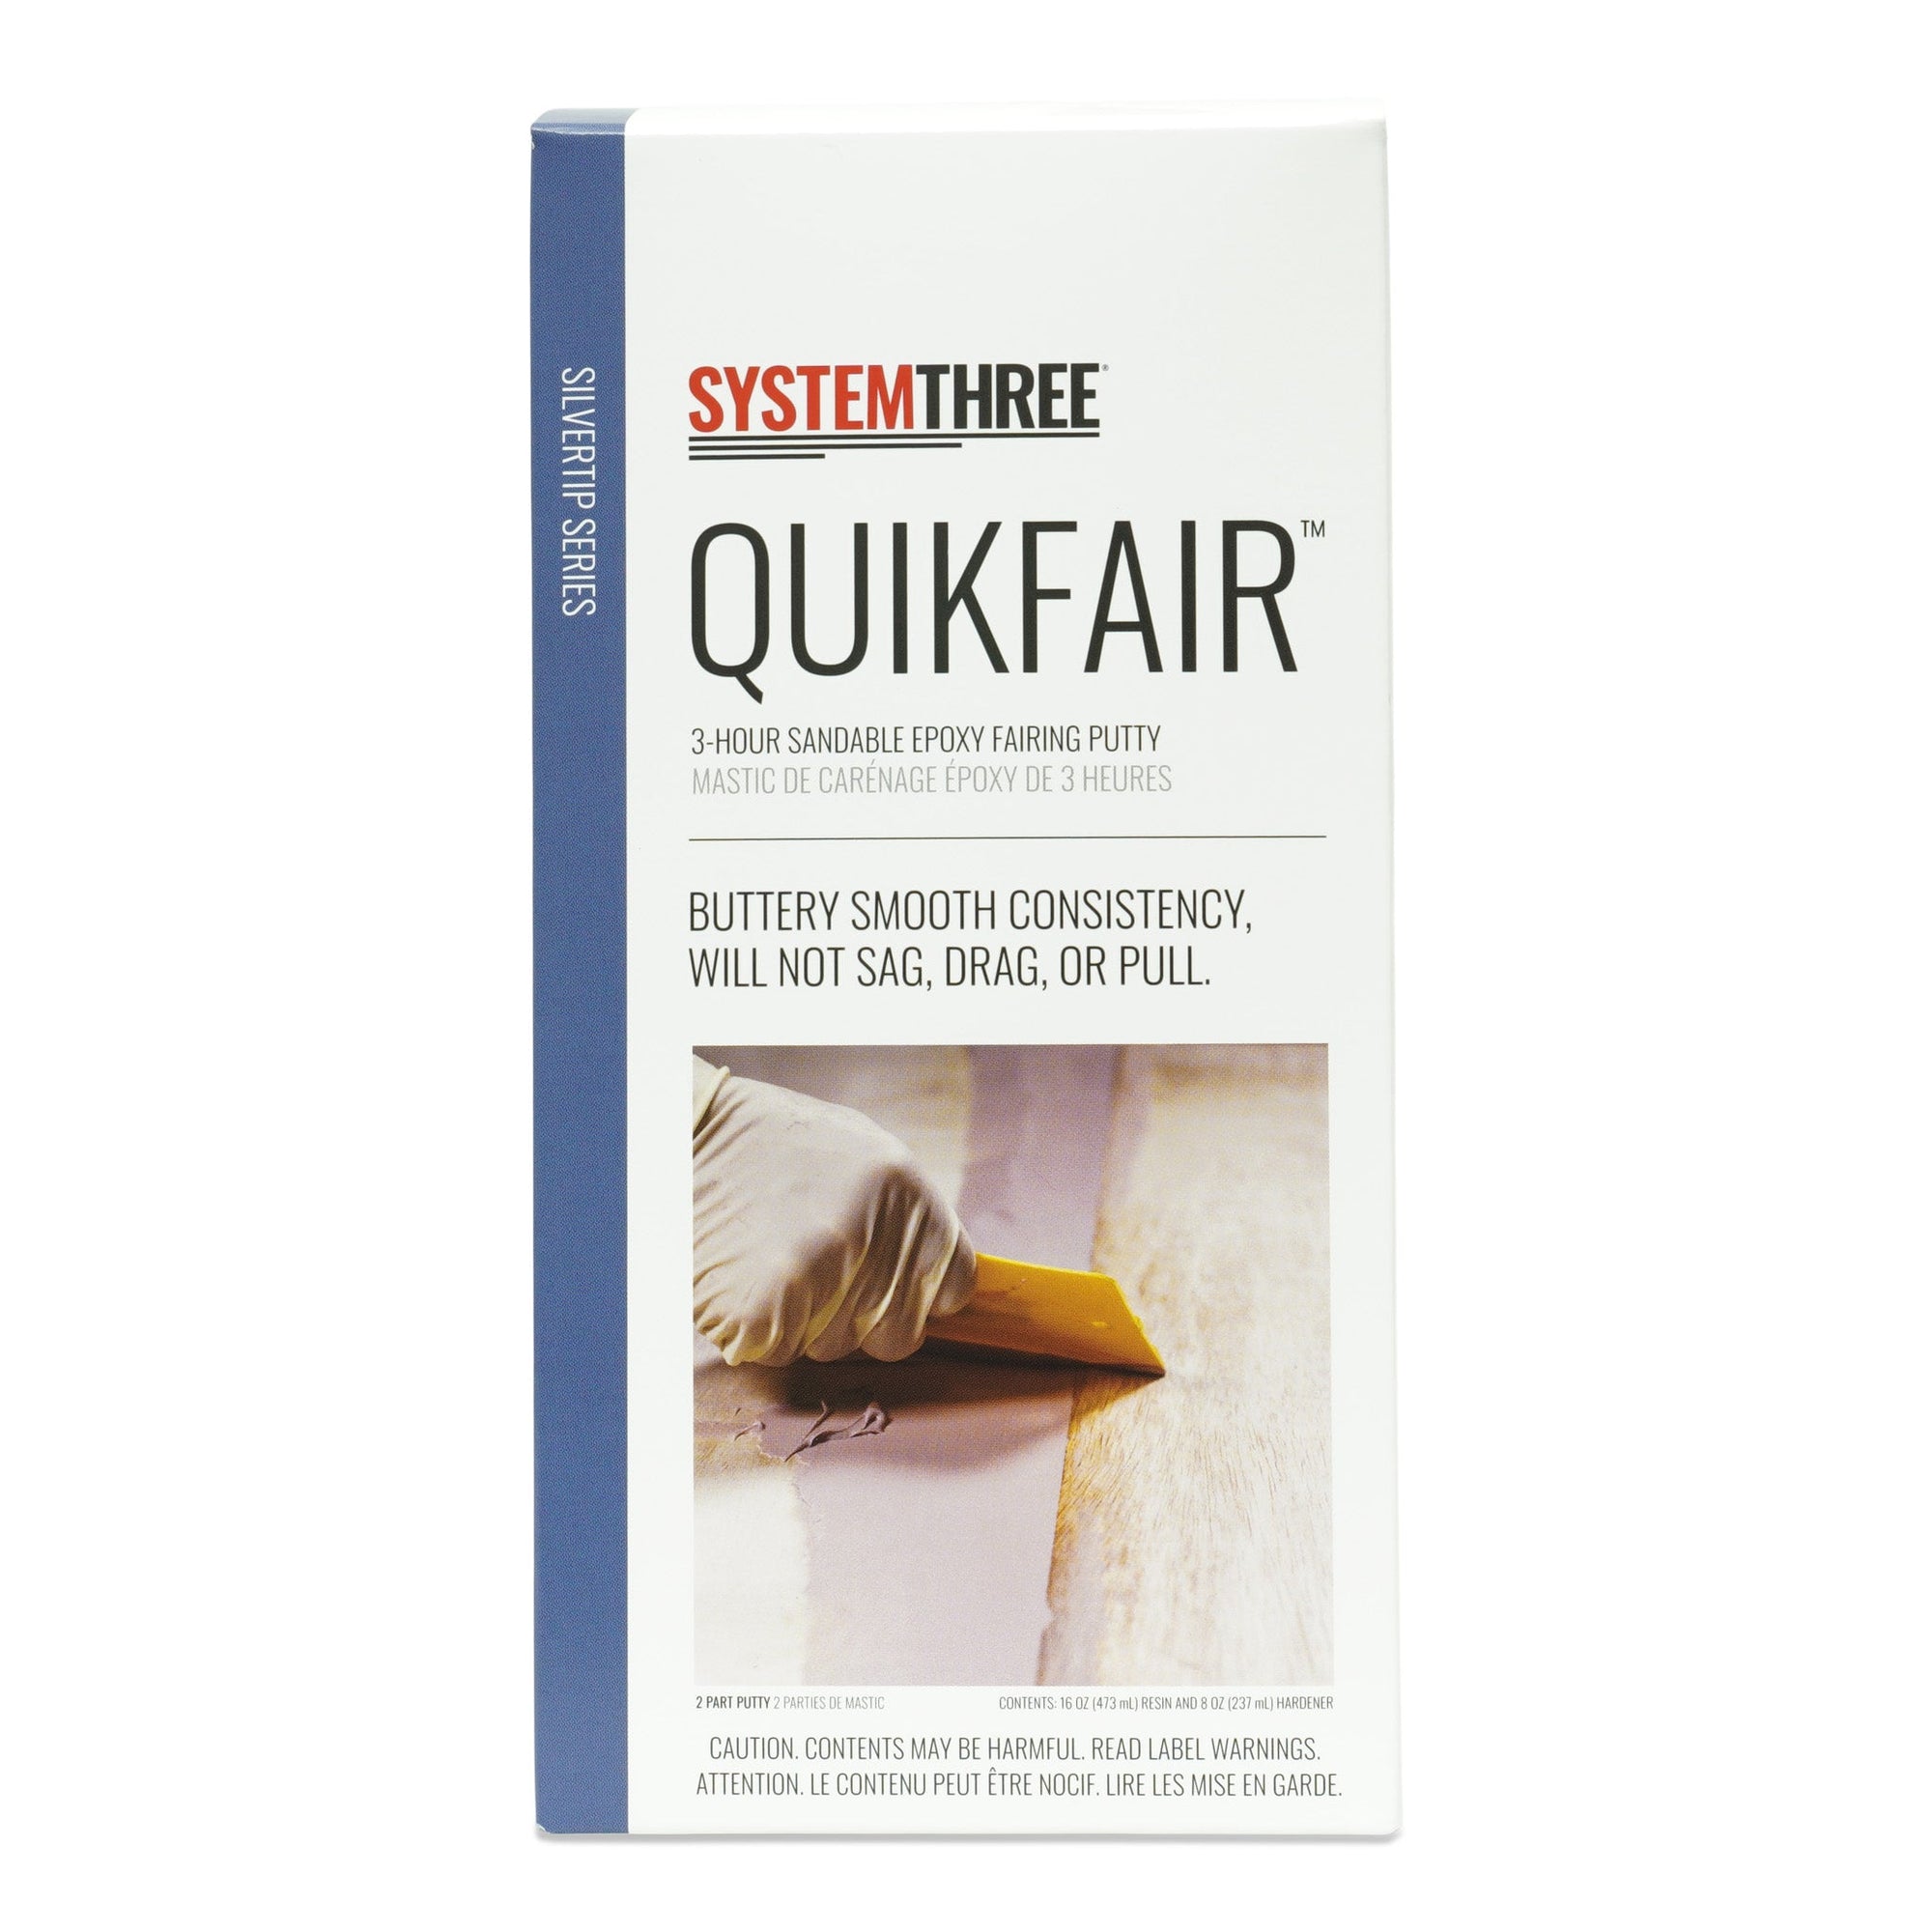
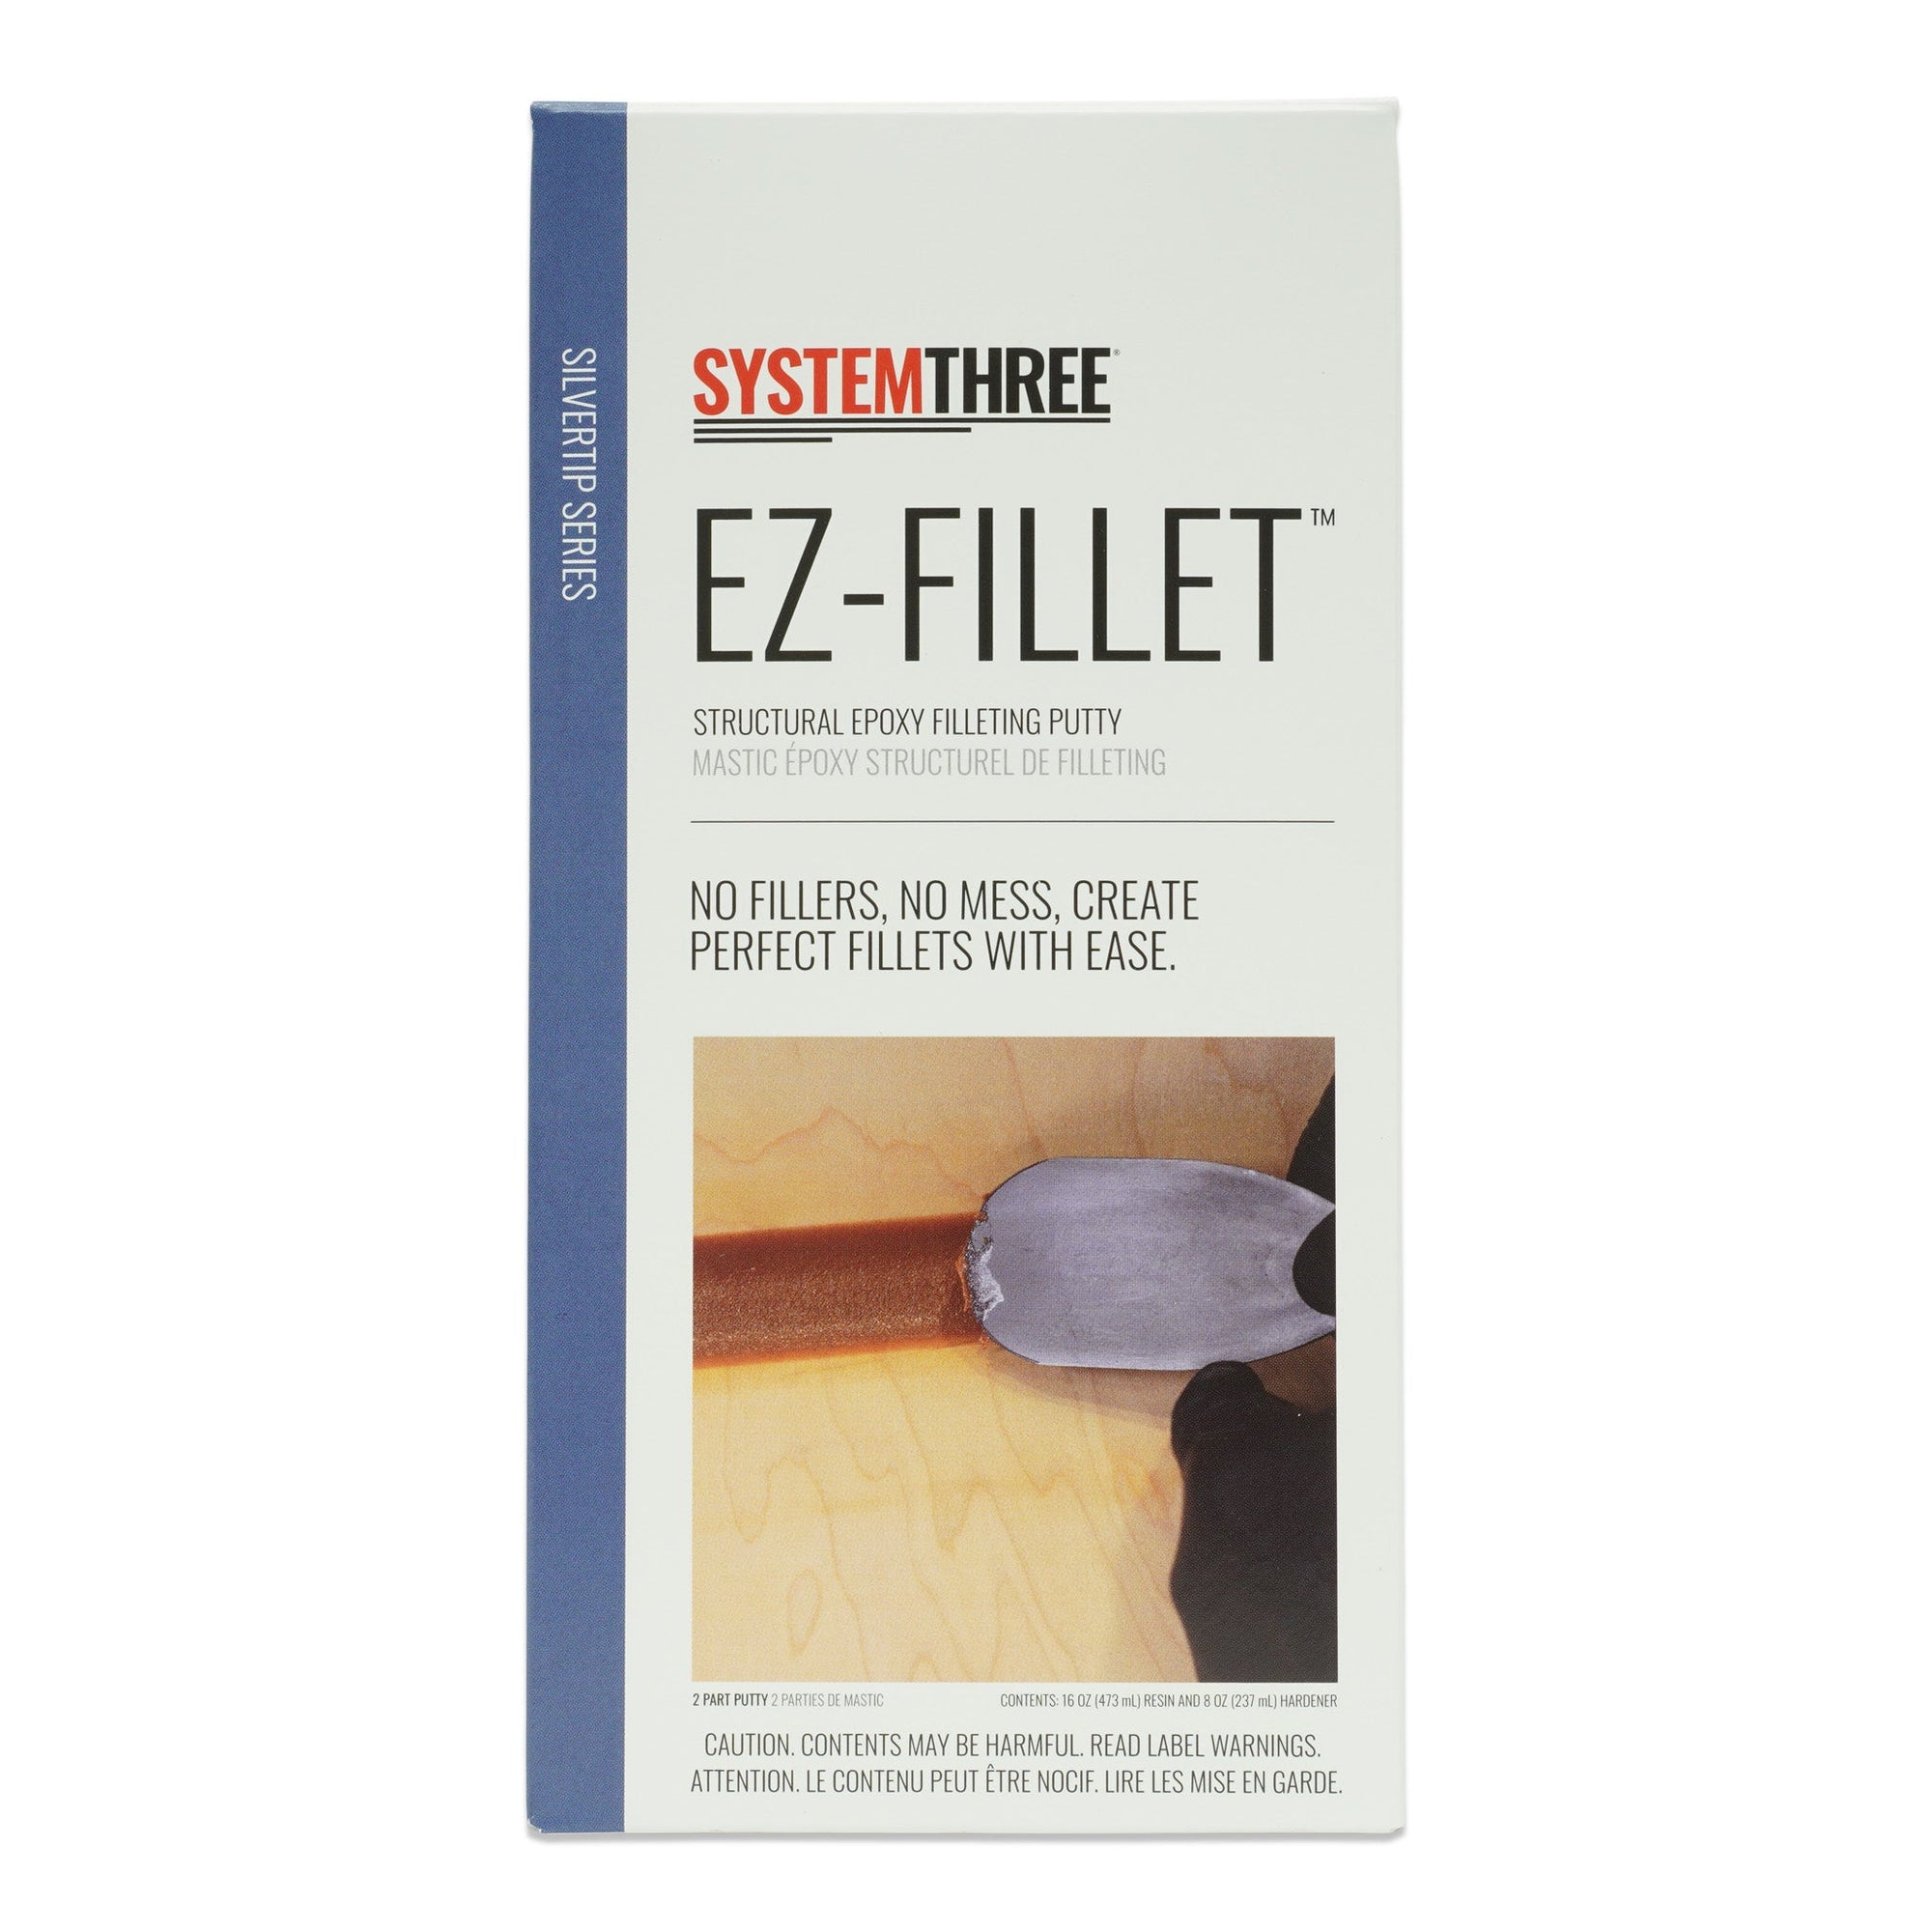
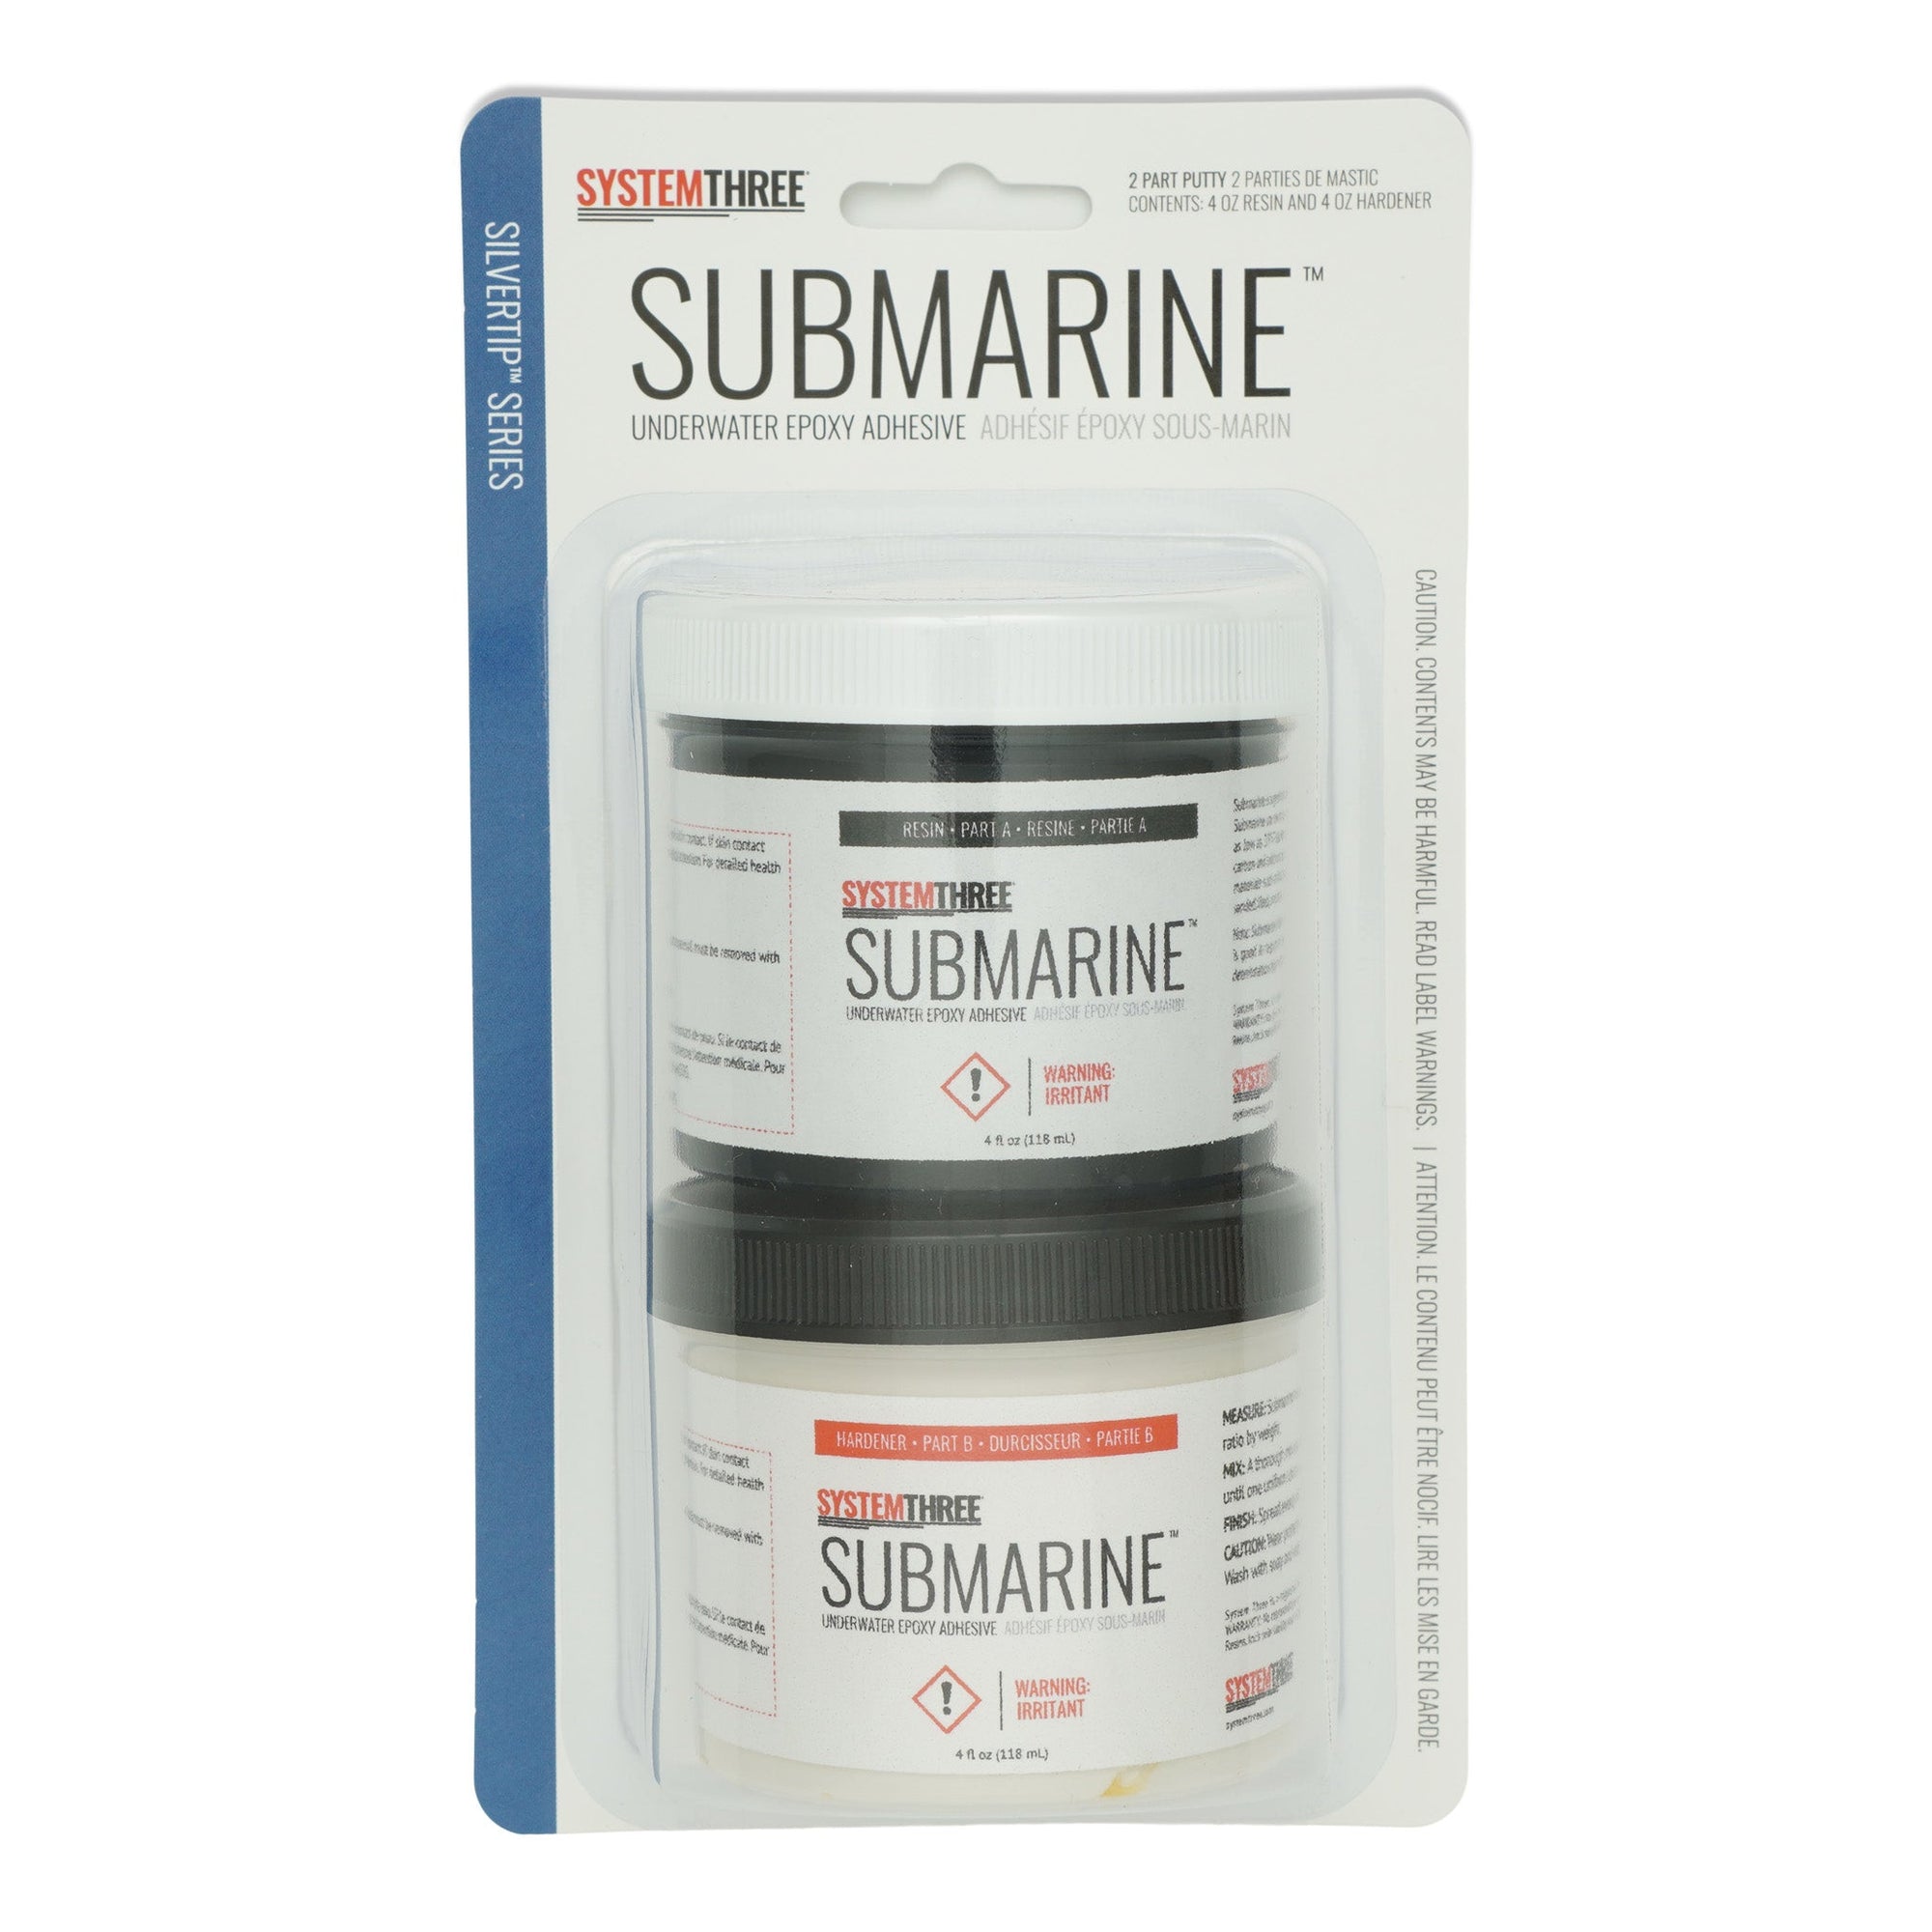
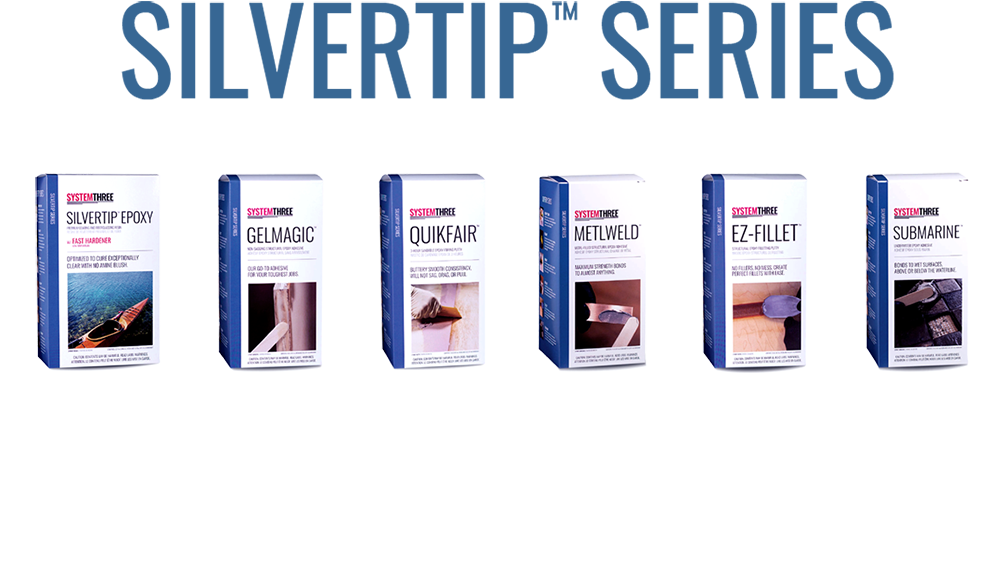
We revisited that playbook with the introduction of our SilverTip Series. In an effort to make epoxies even more accessible, we have "eliminated the guesswork" by formulating application-specific epoxy products to address every common marine project. With the most user-friendly epoxy products on the market, the SilverTip Series, we're making boatbuilding easier and more fun.

The SilverTip Series has been formulated to address every epoxy need you might encounter in building your next wooden boat. We are here to eliminate the guesswork and help you Epoxy Like a Pro.
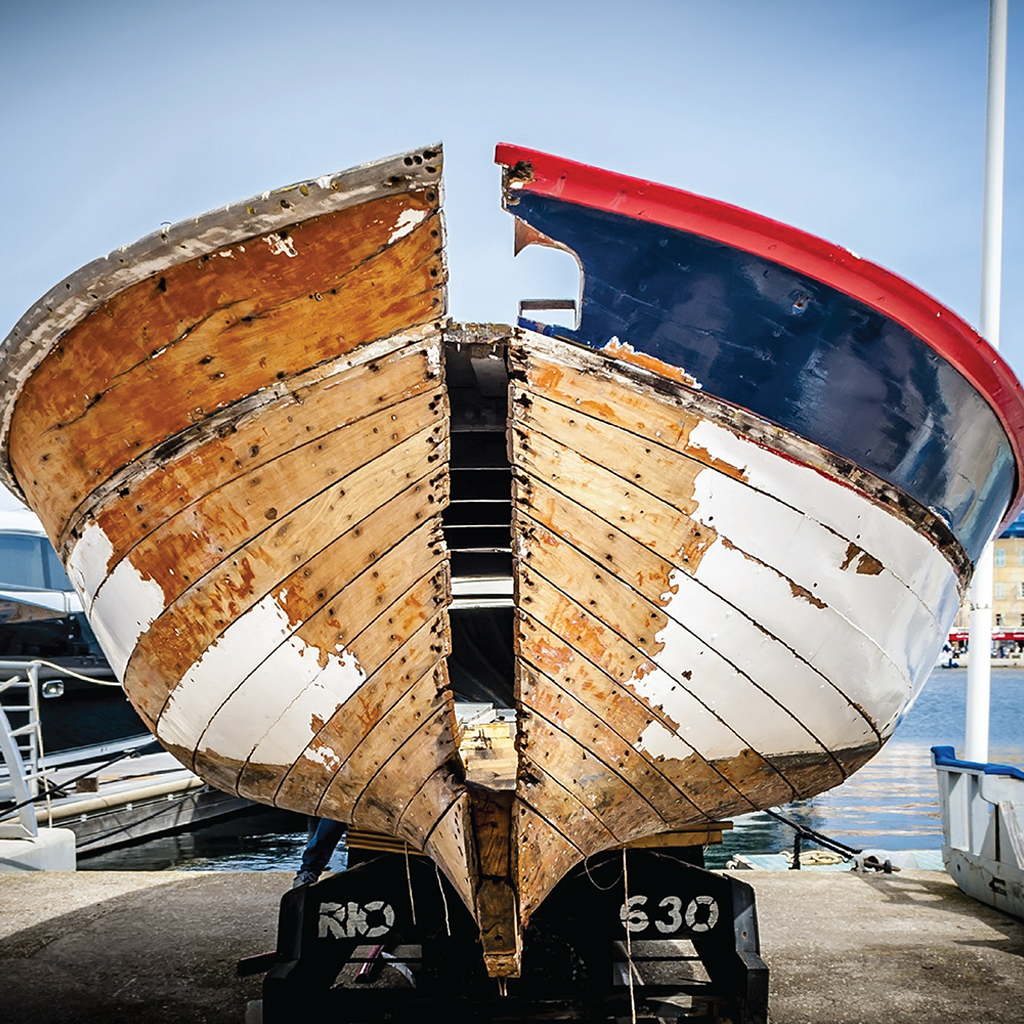
Start from scratch... or start with scratches. Boatbuilding launched System Three in 1979 and since then we have encountered and discussed every marine scenario under the sun with our customers.
We can't wait to help with your next big project.